The Best Fluffy Pancakes recipe you will fall in love with. Full of tips and tricks to help you make the best pancakes.
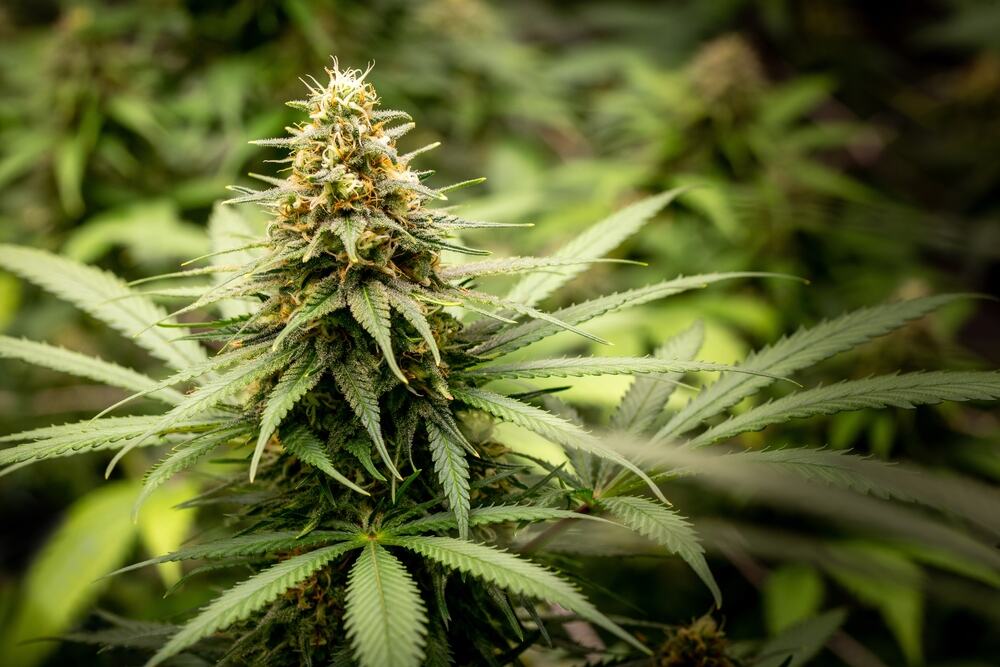
Complete Guide to the Cannabis Flowering Stage
Growing cannabis is a fun journey, but the real action happens during the flowering stage. This is where your plants start producing the buds you’ve been working toward. The flowering stage is critical, and you need to handle it properly to get the most out of your marijuana plants. Whether you’re a newbie or a seasoned grower, this guide will teach you everything you need to know to optimize this period and grow some high-quality weed. Let’s dive in!
Introduction to the Cannabis Flowering Stage
The flowering stage is when your marijuana plants start producing the buds you’ll eventually harvest. During this period, your goal is to maximize growth and ensure your weed is potent and flavorful. It’s all about managing light, nutrients, and environmental conditions properly to make the most of this stage.
What is the flowering stage?
The flowering stage begins when your marijuana plants start getting about 12 hours of darkness each day. This change signals that it’s time to stop growing leaves and start forming flowers. The flowering period usually lasts 6 to 10 weeks, depending on the strain you’re growing.
Key importance of the flowering stage for cannabis plants
The flowering stage is essential because it determines the final quality of your weed. All the energy of the plant shifts toward growing the buds, which is what you’re ultimately after. Properly managing this stage is key to a successful harvest and ensures you get top-tier results.
Pre-Flowering Stage Preparation
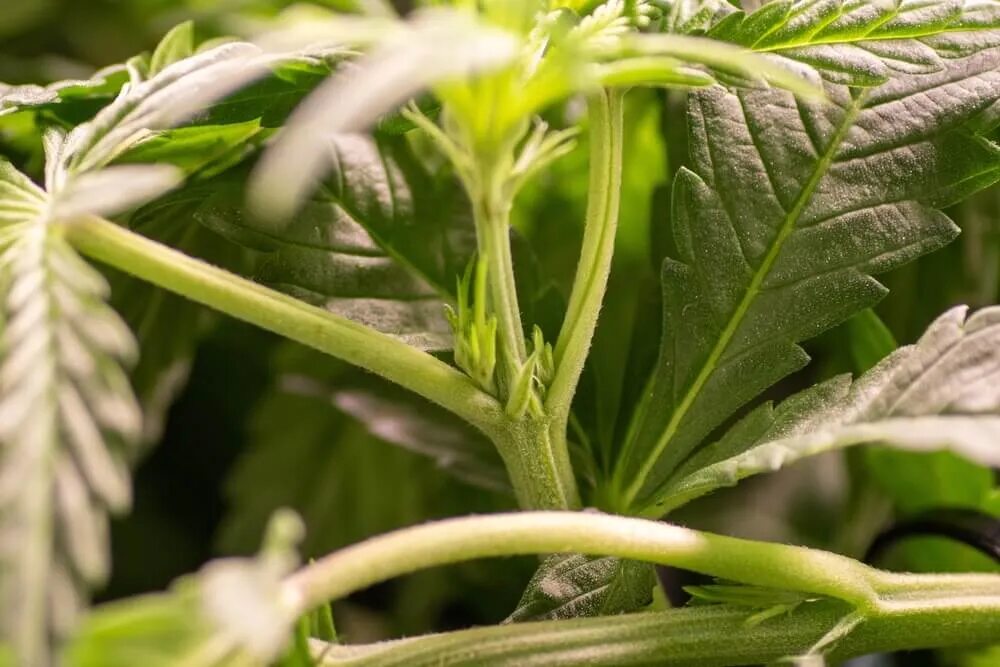
Before your cannabis plants begin to flower, a little preparation goes a long way.
Identifying when the flowering stage begins
You’ll know your plants are ready to flower when you see pre-flowers, which look like little hairs on female plants. If you’re growing indoors, you can initiate flowering by changing the light cycle to 12 hours of light and 12 hours of uninterrupted darkness.
Adjusting light cycles for flowering
Once your plants are ready, it’s time to change the light cycle. To simulate natural conditions, provide them with 12 hours of light and 12 hours of darkness. Interruptions during the dark period can stress your plants, so make sure they have complete darkness.
Nutrient changes before flowering
During the flowering stage, marijuana plants need different nutrients compared to the vegetative stage. You’ll want to switch to bloom nutrients, which have higher phosphorus and potassium levels to support bud growth. Gradually reduce nitrogen as it is no longer the primary nutrient needed.
Cannabis Flowering Stages (Week by Week)
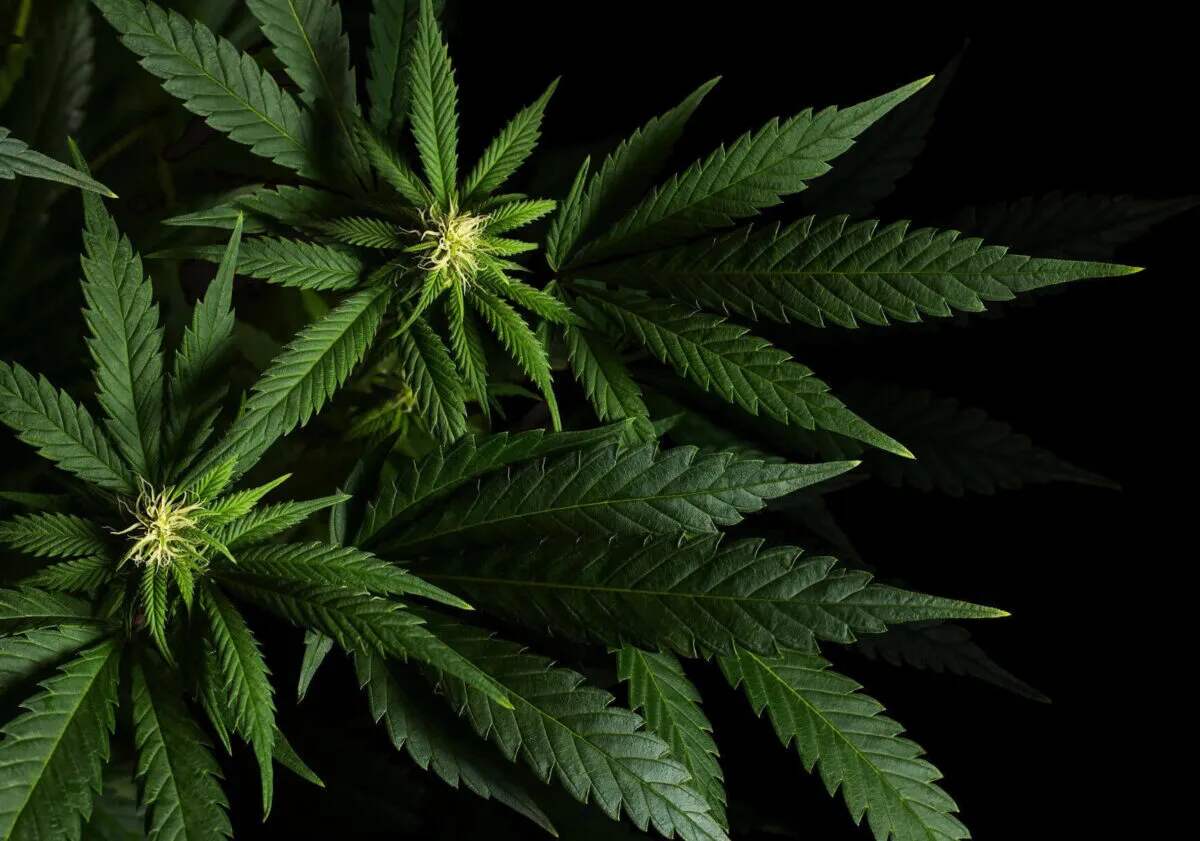
Throughout the flowering period, you’ll see different changes in your plants as they grow and develop. Here’s what you can expect.
Weeks 1-2: Transition to flowering and first signs
In the first two weeks, expect a “stretch” in your marijuana plants, where they can grow significantly taller. You’ll also start seeing the first pistils, which are the white hairs that will turn into buds.
Weeks 3-4: Bud development and care
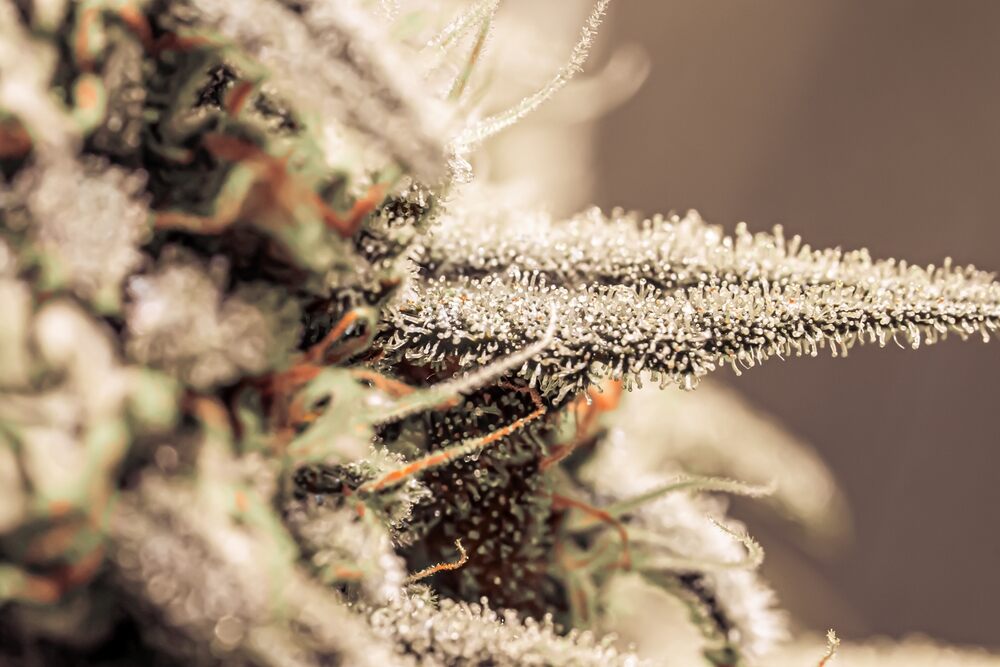
At this point, your plants are fully flowering. Buds will begin to develop, and trichomes, the tiny resin crystals, will start forming. This is also when you need to carefully manage the environment, ensuring the humidity stays between 40-50% to prevent mold from ruining your plants.
Weeks 5-7: Ripening phase and trichome changes
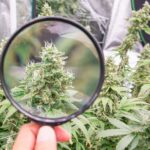
During this period, your buds will become more substantial and resin production increases. This is when you start monitoring trichomes closely, as they will turn from clear to cloudy and eventually amber. These changes indicate the ideal time for harvest is approaching.
Weeks 8+: Preparing for harvest
When your plants are ready to harvest, they will show milky or amber trichomes. During the last week or two of flowering, flush your plants by watering with plain water to remove any residual nutrients. This helps improve the quality and taste of your weed.
Nutrient and Environmental Needs During Flowering
The key to getting a high-quality harvest during the flowering period is keeping a close eye on nutrients and the growing environment.
The importance of phosphorus and potassium during flowering
Phosphorus and potassium are critical for supporting bud development. Make sure you’re using a bloom nutrient formula with these elements. Phosphorus is essential for energy transfer, while potassium supports overall plant health and helps your buds grow larger.
Ideal temperature and humidity for optimal bud growth
To ensure healthy bud development, keep temperatures between 70-80°F during the day and around 65°F at night. Humidity should stay between 40-50% to prevent mold, especially as the buds become denser during the later stages of flowering.
The role of light intensity and spectrum during flowering
Light is everything during flowering! Make sure your light intensity is strong enough for optimal growth. Red-spectrum light (around 660nm) is particularly important because it mimics the natural light your plants would get during the late summer, helping boost bud production.
Common Problems and How to Avoid Them
No matter how well you prepare, problems can pop up during flowering. Here’s how to deal with the most common issues.
Pest and disease prevention during flowering
Pests like spider mites and aphids are a real nuisance during flowering. Regularly check your plants for pests and consider using natural pest control methods like neem oil or beneficial insects. For disease prevention, controlling humidity levels is critical. High humidity can cause bud rot, so keep things dry and clean.
Overfeeding and nutrient burn risks
It’s easy to overfeed your plants during the flowering stage, especially with so many nutrients available. Nutrient burn shows up as brown or yellow leaf tips. To avoid this, start with lower doses of nutrients and only increase if your plants show signs of needing more.
Managing environmental stress
Environmental stress can seriously affect the quality of your weed. Keep temperatures and humidity levels stable throughout the flowering period, and make sure there’s no light leaking into your grow room during dark periods. Stress during flowering can cause your plants to develop poorly or even become hermaphrodites, which will lower your final yield.
Harvesting Cannabis at the End of Flowering
The finish line is in sight! Harvesting at the right time is crucial for ensuring your weed has the potency and flavor you want.
Identifying the right time to harvest
The best way to know when to harvest is by checking the trichomes. They will go from clear to cloudy and then amber. Aim to harvest when most of the trichomes are cloudy, as this is when the THC levels are highest.
The importance of flushing before harvest
Flushing your plants during the last week or two is key to improving the quality of your weed. By only giving them water, you’re helping to remove any excess nutrients, which makes for a smoother smoke and better flavor.
FAQ
What triggers the flowering stage in cannabis plants?
Changing the light cycle to 12 hours of darkness and 12 hours of light triggers flowering.
How long does the flowering stage typically last?
It usually lasts between 6 to 10 weeks, depending on the strain.
How do I know when my cannabis is ready to harvest?
Harvest when trichomes turn from clear to cloudy, with some turning amber.
What is the best light schedule for the flowering stage?
A 12-hour light and 12-hour dark cycle is the best for flowering.
What should I feed my cannabis plants during flowering?
Use a bloom nutrient formula rich in phosphorus and potassium while lowering nitrogen.
The flowering stage is the most exciting part of growing marijuana—it’s when all your hard work pays off. By managing light, nutrients, and environmental conditions, you’ll be able to grow high-quality weed and enjoy a successful harvest. Stay patient, monitor your plants closely, and you’ll be rewarded with some seriously impressive buds!



I really like your site. It isvery helpful and full of good info. on growing weed. Thanks for breaking it all down. It’s really helpful for starters.