The Best Fluffy Pancakes recipe you will fall in love with. Full of tips and tricks to help you make the best pancakes.
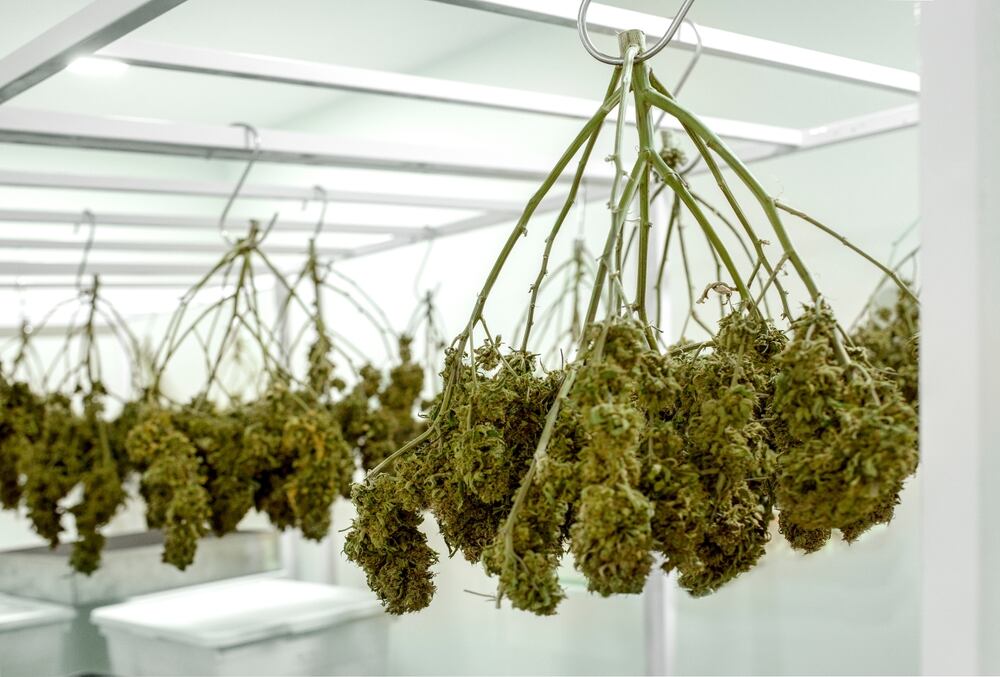
How Do You Dry Weed?
Drying weed is a crucial part of getting the best flavor, smell, and potency from your marijuana. If you rush the drying process or don’t do it properly, your buds will end up harsh and less effective. But when done right, drying preserves those terpenes and cannabinoids, making your weed smooth and flavorful. Whether you’re a seasoned grower or just starting out, understanding how to dry your cannabis the right way can make all the difference.
Understanding the Importance of Proper Drying
Why drying is crucial for potency and flavor
Drying your cannabis properly is essential to maintaining its potency and flavor. The process allows moisture to slowly escape while preserving the terpenes (responsible for aroma and flavor) and cannabinoids (which give marijuana its effects). Drying too quickly can lead to flavorless weed with a harsh taste, while drying too slowly can invite mold, ruining the entire harvest. A slow and controlled drying process locks in all the good stuff, so your buds deliver the experience you’re aiming for.
Risks of improper drying (mold, loss of quality, etc.)
Improper drying—whether too fast or too slow—leads to major problems. Drying too quickly can degrade the cannabinoids, leading to a loss in potency, while improperly controlling the humidity can encourage mold growth. It’s all about finding that perfect balance to avoid wrecking your plant’s quality. Too much moisture can turn your buds into a moldy disaster, and that’s not a risk you want to take after weeks of hard work.
Preparing Your Harvest for Drying
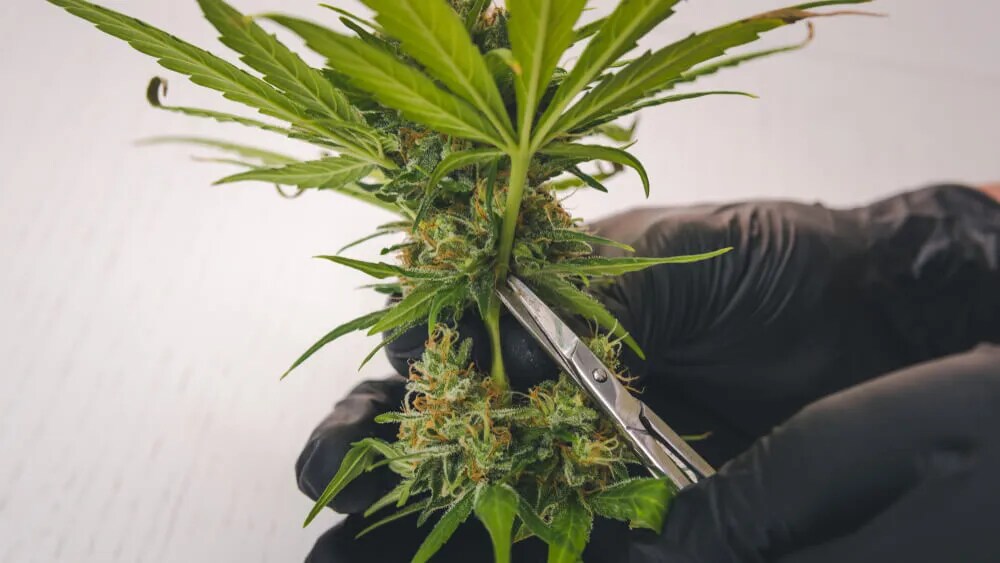
When to start drying: Identifying the perfect harvest time
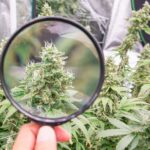
The right time to begin the drying process is after the perfect harvest. Look at your plant’s trichomes (the tiny, frosty crystals on the buds) — they should be mostly cloudy with a few amber-colored ones. This is when your marijuana is at its peak potency, and starting the drying process now will ensure you preserve its potency and flavor.
Pre-drying steps: Trimming fan leaves and branches
Before drying, start by trimming off the larger fan leaves. Removing them helps air circulate better around the buds. Next, cut the plant into manageable branches—about 12 to 18 inches long, depending on your space. These branches will be easier to hang and ensure that your buds dry evenly.
Tools and space needed for drying (hangers, racks, dark room)
You don’t need fancy equipment, but you do need a good space. A cool, dark room with good air circulation is key. Hang your branches on wires or use a drying rack if you’re working with limited space. Make sure the area is dark to prevent light from degrading the cannabinoids, and use fans to keep the air moving, but not blowing directly on the buds.
Best Methods for Drying Cannabis
Traditional air drying: Hanging plants upside down
The tried-and-true method of drying weed is to hang the branches upside down in a dark, well-ventilated space. Hanging the whole plant or the trimmed branches allows for even drying, helping to lock in flavor and potency. This method is slow but effective, ensuring your weed dries at a steady rate.
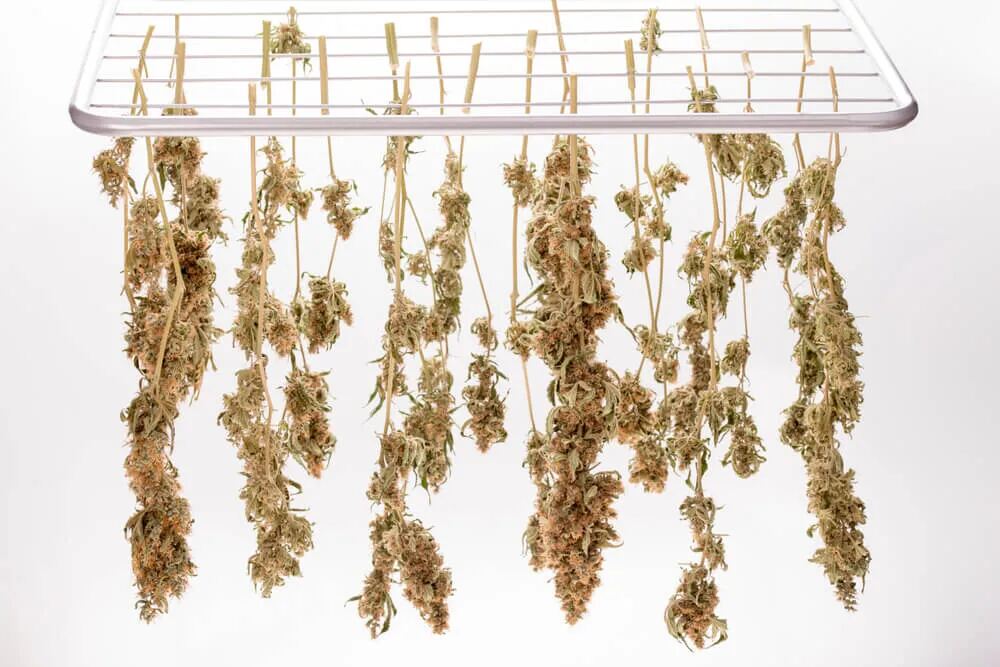
Using drying racks for small spaces
If you’re working with limited space, drying racks are a solid alternative. Lay the buds on the racks, making sure to flip them daily to promote even drying. However, racks can speed up the drying process, so you’ll want to closely monitor the humidity to ensure you’re not over-drying your marijuana.
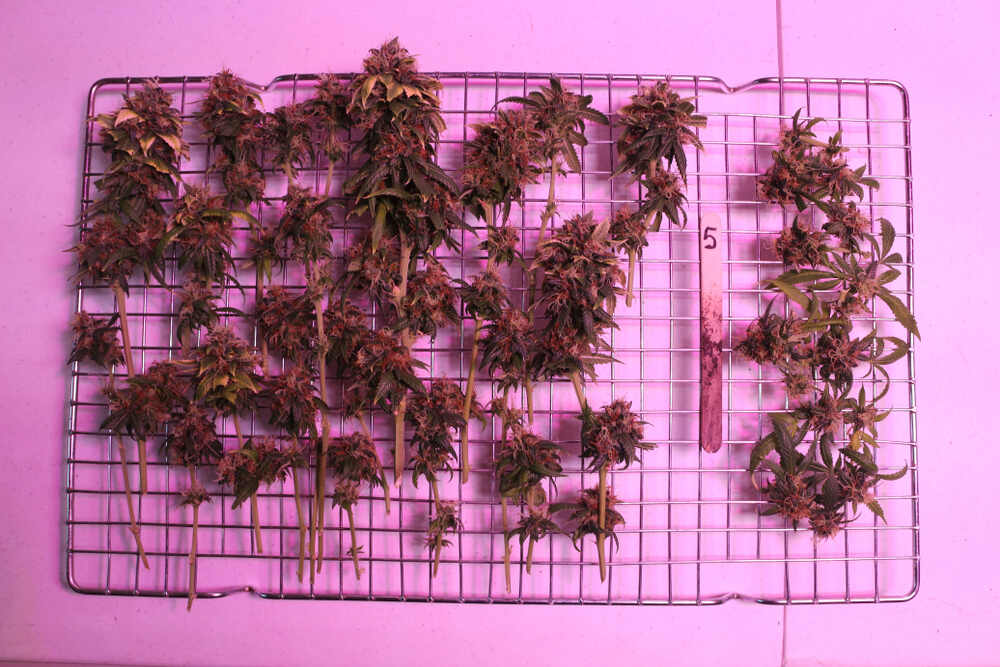
Drying cannabis in controlled environments (ideal temperature and humidity)
For the best results, aim for a controlled environment with around 60°F and 60% humidity. This creates the perfect balance for a slow, even drying process. Too much heat or too low humidity will dry your buds too quickly, while too much moisture could lead to mold. Using a hygrometer can help you keep the environment in check.
Step-by-Step Guide to Drying Cannabis
Step 1: Cutting branches or buds for drying
Start by cutting the plant into branches that are easy to handle—about 12 to 18 inches long. These branches will dry evenly and fit better into your drying space. If your space has low humidity, you can hang the entire plant to slow down the drying process.
Step 2: Setting up your drying space (dark, cool, and ventilated)
Prepare a dark, cool room with good air circulation for drying. Light can degrade the cannabinoids, and you want to avoid excess heat, so keeping it cool is key. Make sure there’s a constant flow of fresh air, but avoid pointing fans directly at your buds to prevent over-drying.
Step 3: Monitoring drying progress (snap test, checking moisture levels)
Check on your buds daily. To know when they’re ready, use the “snap test”—bend a small stem, and if it snaps cleanly, your weed is dry enough. If the stem still bends, the moisture hasn’t fully evaporated yet. Drying usually takes about 7 to 10 days, depending on your setup and the size of your buds.
How long does drying take?
On average, drying takes about 7 to 10 days, depending on factors like the size of the buds, room temperature, and humidity levels. Keep an eye on the moisture levels and remember, patience is key!
Common Drying Mistakes and How to Avoid Them
Drying too fast: How to prevent harsh smoke
Drying your weed too fast leads to harsh smoke and loss of flavor. Avoid this by keeping the humidity around 60% and the temperature cool. Fast drying often results from too much heat, which you want to avoid at all costs.
Overdrying and rehydrating methods (using humidipaks or citrus peel)
If you overdry your buds, you can rehydrate them using humidipaks or a piece of citrus peel in your jar for a few hours. Just be careful not to overdo it, as too much moisture could lead to mold. A little goes a long way to bring your weed back to the perfect consistency.
Avoiding mold and mildew during drying
Mold and mildew are the enemies of good weed. Prevent this by ensuring your drying room is well-ventilated with proper humidity control. Space your branches out to allow air to flow around them, and avoid letting buds touch each other too much.
Transitioning from Drying to Curing
How to know when buds are ready to cure
Once the stems snap easily, your buds are ready to be cured. The drying process removes most of the moisture, but curing helps evenly distribute the remaining moisture while improving flavor and potency. This step is essential to get the most out of your harvest.
Tips for curing your cannabis to perfection (humidity control and jars)
For curing, place your dried buds into airtight jars, filling them about 75% full. Store the jars in a dark, cool space, and “burp” them daily by opening the lids for a few minutes. This helps to release any excess moisture. Keep humidity around 62% for a slow, steady cure that brings out the best flavor and potency in your weed.
FAQ
How long does it take to dry weed properly?
It usually takes 7 to 10 days to dry weed, depending on conditions like humidity and temperature.
What are the best temperature and humidity levels for drying?
Aim for 60°F and 60% humidity for the perfect drying environment.
Can I speed up the drying process?
It’s not recommended. Speed drying leads to harsh weed with little flavor. A slow, controlled process works best.
How do I prevent mold during drying?
Good airflow, maintaining 60% humidity, and keeping your drying space cool and dark will help prevent mold.
What’s the difference between drying and curing?
Drying removes moisture, while curing distributes moisture evenly, enhancing potency and flavor.
Drying your weed properly is essential to getting the most out of your plant. With the right setup, patience, and attention to detail, your buds will come out flavorful, potent, and ready for curing. By following these steps, you’ll be able to produce top-quality marijuana every time.



I’m interesting in how to grow your product