The Best Fluffy Pancakes recipe you will fall in love with. Full of tips and tricks to help you make the best pancakes.
How much water should you give autoflowers?
When it comes to growing autoflowers, watering is one of the most important yet misunderstood aspects. Unlike photoperiod strains, autoflowers grow fast, stay compact, and can be a little more sensitive to errors—especially when it comes to moisture. I’ve grown thousands of plants in everything from solo cups to 15-gallon geopots, and if there’s one thing I always tell beginners, it’s this: your watering game makes or breaks your harvest. Too much? You’re choking the roots. Too little? You’re starving the plant. But with a solid understanding of how autoflowers drink, and when they do it, you’ll have them thriving in no time. Let’s break it down.
Why proper watering matters for autoflowers
The risks of overwatering vs underwatering
Overwatering is the silent killer in autoflower cultivation. It leads to root rot, stunted growth, and in worst-case scenarios, death. Your roots need oxygen as much as they need water—drowning them creates an anaerobic environment where pathogens thrive. You might think you’re helping your plant by keeping the soil wet, but what you’re actually doing is suffocating it.
Underwatering, on the flip side, can cause your autoflower to slow its growth, wilt, and eventually shut down major functions like nutrient uptake. Since autos have a set genetic clock, every day of poor hydration is a day of lost potential.
Watering is about balance. It’s not about how much water you give—it’s about when and how you give it.
How autoflowers’ life cycle makes watering unique
What makes autos different is their fixed timeline. You can’t slow them down and recover from stress like you can with photoperiods. That means if you overwater during the seedling phase, or miss your watering window during flowering, there’s no extra veg time to compensate.
This also means you’re working with tighter windows of growth and development. A photoperiod grow might give you three weeks to dial in your watering; an auto might only give you five days before it kicks into full veg mode. You’ve got to be quick and precise.
Environmental, medium, and pot-size factors influencing frequency
Let’s break this down:
- Environment: Higher temps mean faster evaporation. Dry air will pull moisture out of your soil faster, especially under high-powered LEDs. If you’re in a dry zone, expect to water more often.
- Medium: Coco coir holds less water than soil, so it dries quicker. Hydro setups need constant attention. Soil, depending on the mix, retains more moisture and allows for slower watering cycles.
- Pot size: Larger pots = longer drying time. A 3-gallon fabric pot dries out in 2–3 days. A 10-gallon might take 5 days or more. The bigger the pot, the slower the cycle.
All of these factors work together to determine your watering schedule. And that brings us to how water requirements change over time.
Water needs by growth stage
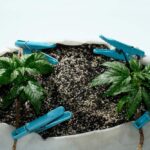
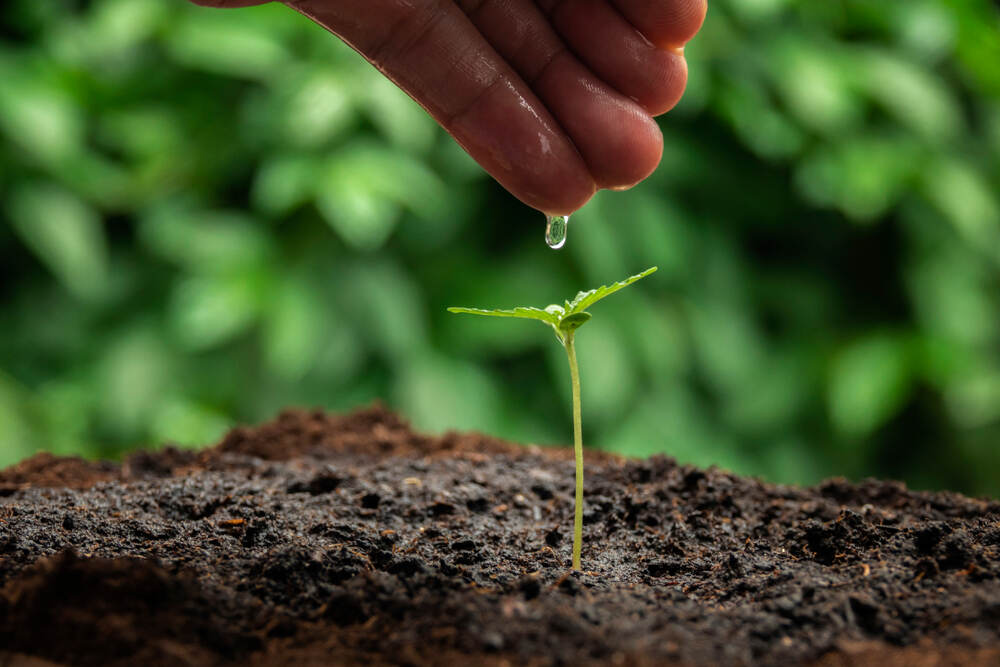
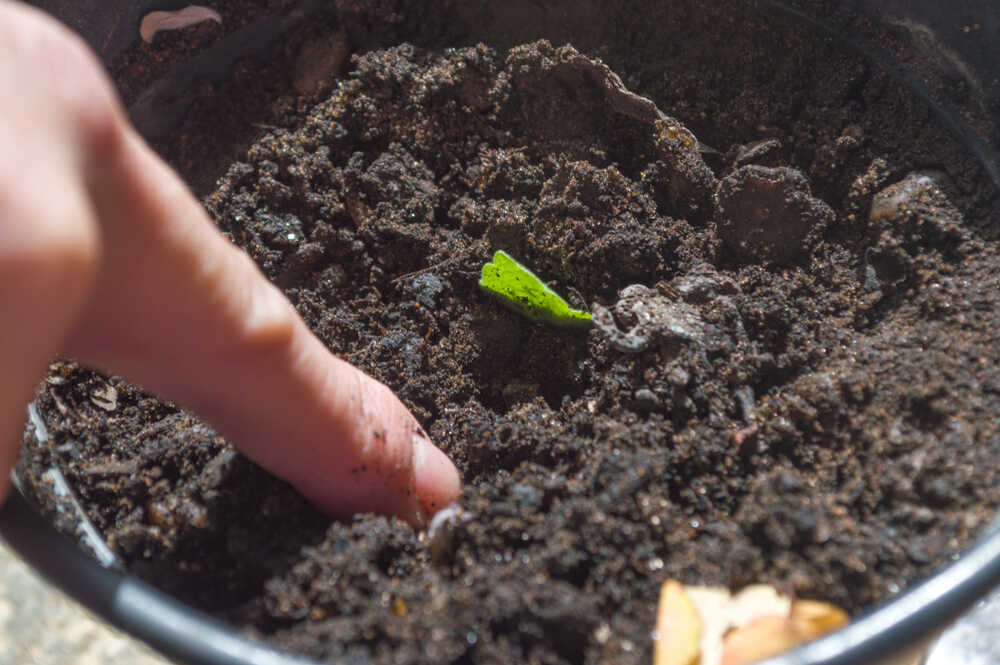
Seedling stage: small amounts, daily misting or 30–50 ml for first week
In the seedling phase, your autoflower is developing its root zone. This is not the time to drown it. I start with a fine mist spray around the perimeter of the seedling—not directly on the stem. That avoids damping off and lets the roots chase water outward.
A good target here is around 30–50 ml per day in the first week. Use a syringe or a small measuring cup if needed. I always make sure the top inch of the soil is slightly moist, not soaked. Keep humidity around 65–70% to reduce the need for aggressive watering.
Early vegetative: 0.5–1 L every 2–3 days (3‑ to 5‑gal pots)
Once your plant is pushing out its second or third node, it’s officially in veg. Roots start growing rapidly, and the plant will demand more water. In this phase, I move to a “circle” watering method—watering a ring around the plant instead of directly at the base. This trains the roots to spread outwards.
For a 3- to 5-gallon pot, I’ll give about 0.5 to 1 litre of water every two to three days, depending on how fast the medium dries. If it’s hot and dry, I check daily. I always lift the pot—light pot means it’s thirsty.
Late vegetative/pre-flowering: 1–2 L every 2–4 days (5 gal pots)
Now we’re getting into the thick of it. This is when your autoflower is building biomass fast and prepping for bloom. In a 5-gallon pot, I typically water 1 to 2 litres every 2 to 4 days.
Here’s what I do: I water until I see 10–20% runoff out of the bottom of the pot. That tells me I’ve saturated the root zone fully without overdoing it. I also check the runoff pH (around 6.2 for soil) to catch any potential nutrient issues early.
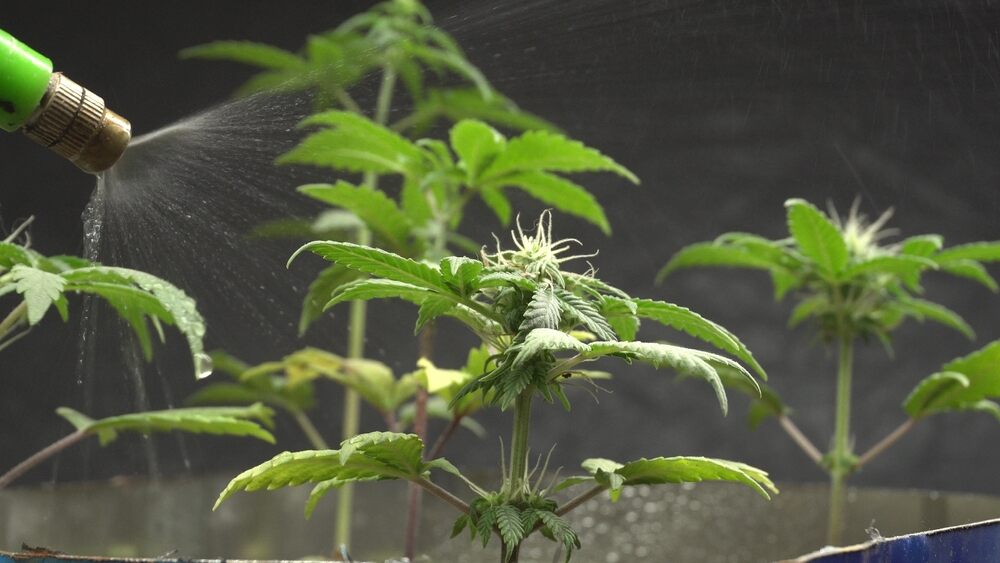
Flowering stage: 2–2.5 L (10 gal) every 4–5 days or 24–50 oz every 2–3 days
In flower, your plant starts focusing on bud development. This means it’s going to use slightly less water than in veg but still enough to sustain those big colas. For a 10-gallon pot, 2 to 2.5 litres every 4 to 5 days is my go-to.
In smaller pots, I stick to 24 to 50 ounces every 2 to 3 days. I also let the top 2 inches of the soil dry out before watering again to avoid moisture-related issues like bud rot.
How to tell when to water
Finger or knuckle test (1–2 in dry = time to water)
Old-school but still gold. Stick your finger into the soil up to your first or second knuckle. If it feels dry all the way down, it’s time to water. If it’s still moist, wait another day.
This method works especially well in soil grows where top-layer moisture isn’t always an indicator of deeper hydration.
Lift & weigh method: learning dry vs hydrated pot weight
This is how I train most beginner growers. Pick up your pot after a full watering and get a feel for the weight. Then lift it again after a few days—it should be noticeably lighter. Once you can tell the difference, you’ll never second-guess watering again.
I even use a luggage scale for new growers who can’t feel it yet—just to give them a baseline.
Visual cues: leaf droop, yellowing, soil pulling from pot edges
Your plant talks to you—visually. Droopy leaves can mean both overwatering and underwatering, but the context helps.
- Overwatering: leaves are puffy and curl downward like claws
- Underwatering: leaves are limp, dry, and hang like wet towels
- Soil pulling away from the pot: usually a sign it’s too dry and needs a full soak
Learn to spot these signs and you’ll avoid 90% of watering mistakes.
Best watering practices
Watering technique: soak until runoff; avoid direct seedling drenching
Always water evenly around the base and edges of the pot. You want the roots to chase water, not drown in it. When the plant is mature, soak until about 10–20% runoff appears. That clears salt buildup and encourages even root growth.
Avoid watering directly at the seedling’s base. Instead, form a ring of moisture a few inches out. This technique strengthens the root system and improves uptake.
Timing: water in cooler parts of day (morning/evening)
I always water in the morning or just before lights go on. Why? Because cooler temps reduce evaporation, allowing the roots to absorb more water before the heat hits.
Evening watering can work too, but in high humidity environments it might raise the risk of fungal issues.
Water quality & pH: optimal ranges for soil vs coco/hydro
- Soil: 6.0 to 6.5 pH
- Coco/hydro: 5.8 to 6.2 pH
Use dechlorinated water if possible. Tap water often contains chlorine or chloramines that can kill beneficial microbes in your root zone.
I use an inexpensive pH meter and adjust with pH Up or Down. Keeping water in the right range improves nutrient absorption and prevents lockouts.
Adjustments: medium (soil vs coco), container type (fabric vs plastic), environment (temp/humidity)
Each variable shifts your watering needs:
- Coco dries faster than soil—expect to water daily or even twice daily in flower.
- Fabric pots breathe better, which helps prevent overwatering but requires more frequent irrigation.
- High temps (above 28°C) = faster evaporation.
- Low humidity (under 40%) = quicker drying, especially during early growth.
Know your environment and tweak accordingly.
Avoiding common watering mistakes
Sticking to a “wet‑dry” cycle for healthy roots
This is how I keep roots thriving. Let the topsoil dry out before the next watering to maintain oxygen flow and root expansion. The wet-dry cycle encourages your autoflower to build a strong root network—critical for nutrient uptake and resilience.
Signs & prevention of root rot
Root rot is a nightmare. Symptoms include:
- A sour smell from the soil
- Yellowing or brown, droopy leaves
- Slimy, discolored roots (if you pull them up)
To prevent it:
- Use breathable pots (fabric over plastic)
- Don’t water on a schedule—water when needed
- Keep airflow up and humidity in check
Flushing before harvest for smoother smoke
Two weeks before harvest, I flush with plain, pH-balanced water. This washes out excess salts and improves the taste and burn of the final product. You’ll notice white ash instead of black when you’ve done it right.
I flush until I get clear or lightly tinted runoff. If your runoff is still dark or smells like nutes, keep going.
Conclusion
Watering autoflowers isn’t rocket science, but it’s a skill you need to master. Understanding when, how, and how much to water each stage of growth will directly affect your final yield and quality. Remember—autos grow fast, and mistakes stick. But if you pay attention to your plants,