The Best Fluffy Pancakes recipe you will fall in love with. Full of tips and tricks to help you make the best pancakes.
How to Flush Autoflowers
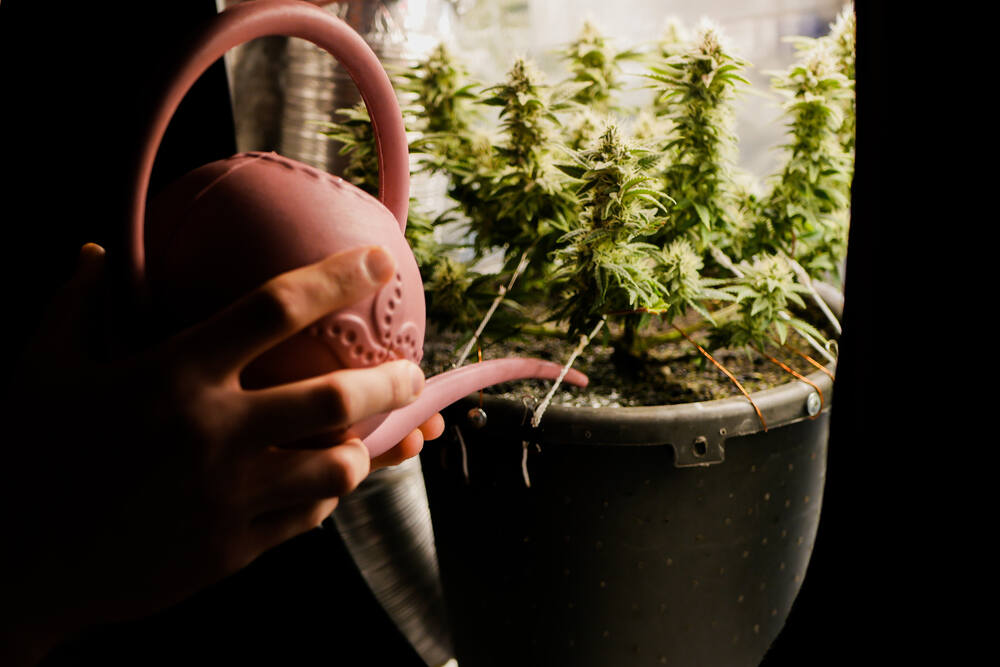
Flushing your autoflowers before harvest is like giving them a clean rinse before the grand finale. As a long-time cannabis breeder and grower, I can tell you this one practice can be the difference between smooth, flavorful smoke and a harsh, chemical-tasting toke. When done right, flushing helps your buds burn better, taste cleaner, and show off their full terpene potential. But you’ve got to time it properly and tailor it to your grow medium. Whether you’re running soil, coco, or hydro, understanding how and when to flush autoflowers is key to producing clean, high-quality buds. So let’s walk through exactly how I do it, and how you can too.
What Is Flushing and Why It Matters
What does flushing cannabis mean?
Flushing is the process of giving your cannabis plants only plain, pH-balanced water for a set period before harvest. You’re essentially washing away any remaining nutrients or salts in the growing medium and within the plant tissue. This is especially important for autoflowers because they’ve got a quick lifecycle and don’t leave much room for recovery if things go sideways.
Flushing is not the same as overwatering—it’s a controlled, intentional act. Think of it like detoxing your plants before you chop them. You’re prepping them for harvest by reducing the excess nutrients they’ve been absorbing during flowering.
Why flushing is important for autoflower plants
Autoflowers have shorter veg and flower cycles than photoperiod strains, which means they take up nutrients rapidly and often store excess minerals in their leaves and buds. If you feed them heavily right up to harvest without flushing, you’re likely to end up with buds that crackle when smoked (from residual nutrients) and taste a little like burnt hay.
Flushing is important for autoflowers because it gives them a chance to use up stored nutrients and transition naturally into senescence—the aging stage right before harvest. This also allows the plant’s natural terpene profile to shine through without interference from leftover nitrogen or other minerals.
Benefits of flushing before harvest (taste, smoothness, cannabinoid purity)
Flushing brings several benefits to the table, especially if you want high-quality, smooth-smoking bud. Here’s why I always flush my autoflowers:
- Better taste and aroma – No nutrient residue means your strain’s natural terpenes are front and center.
- Smoother smoke – Say goodbye to that harsh throat burn that comes from chemical leftovers.
- Cleaner ash – Properly flushed buds burn to a light grey or white ash, not black and crumbly.
- Improved cannabinoid profile – Removing excess nutrients helps the plant focus on ripening trichomes, boosting potency.
When to Start Flushing Autoflowers
Ideal flushing window for autoflowering strains
For most autoflowers, you want to begin flushing 10 to 14 days before your intended harvest date. That means if you expect your plants to finish in 10 weeks, flushing should start around week 8. However, it’s not just about counting calendar days—you’ve got to read your plants too.
Autoflowers don’t always follow a strict schedule, especially if they’ve been stressed or trained heavily. The flushing window depends on your grow medium, your feeding schedule, and how your plants are maturing.
How to recognize signs your plant is ready for flush
There are a few visual cues I look for before I start flushing:
- Trichomes – When most of the trichomes are milky white with a few turning amber, it’s go time.
- Pistils – Around 70–80% of the pistils have darkened and curled inward.
- Leaf fade – The fan leaves may start yellowing slightly as the plant naturally consumes stored nutrients.
These are your plant’s way of saying “I’m almost done—time to flush.”
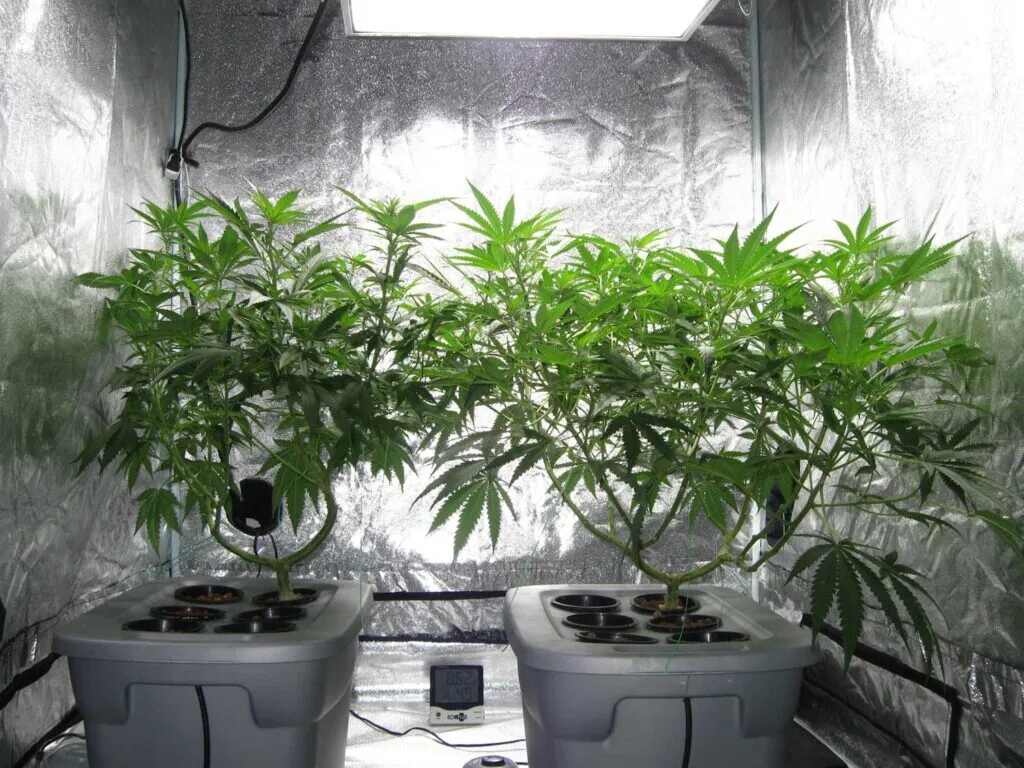
Flushing schedule for different autoflower grow setups (soil, coco, hydro)
The timing and length of your flush depend heavily on your grow medium:
- Soil – Flush for 10–14 days. Soil holds nutrients longer, so you need more time to clear it out.
- Coco coir – Flush for 7–10 days. Coco releases nutrients quicker than soil but not as fast as hydro.
- Hydroponics – Flush for 5–7 days. Because hydro uses water as the medium, nutrients are immediately removed when you switch to plain water.
The more inert and fast-draining the medium, the shorter your flush window.
How to Flush Autoflowers Properly
Flushing autoflowers in soil – step-by-step process
Here’s how I flush autoflowers in soil:
- Stop feeding nutrients – At the start of flush, give your plants only pH-balanced water (around 6.3–6.8).
- Runoff is key – Water until 20–30% of the water drains from the bottom of the pot. This helps wash out residual nutrients.
- Repeat every watering – Water every 2–3 days as needed, always achieving runoff.
- Monitor pH and EC – Use a runoff EC meter. The goal is for EC to drop steadily throughout the flush.
This process allows your plant to use up stored nutrients while also avoiding salt buildup in the medium.
Flushing autoflowers in coco coir – what to adjust
Flushing in coco is similar to soil but with a few tweaks:
- Flush duration – 7–10 days is usually sufficient.
- Water frequency – Coco dries faster, so you may need to flush daily or every other day.
- Check runoff EC – Coco can retain salts, so test your runoff often. The EC should fall under 0.5 mS/cm by harvest.
Because coco is semi-inert, your autoflowers will respond quickly to the change in feeding.
Flushing autoflowers in hydroponics – how to do it right
In hydroponics, flushing is more immediate:
- Switch to plain water – Remove the nutrient solution and refill your reservoir with pH-adjusted water (5.8–6.2).
- Optional additives – Some growers use flushing agents like Clearex or FloraKleen to accelerate the process, but I personally stick to plain water.
- Monitor pH and EC – Keep water stable and make sure EC stays near zero.
- Shorter flush time – 5–7 days is usually enough to cleanse the plant.
Hydro flushing is fast and effective, but make sure you don’t shock the plant with cold water or sudden pH shifts.
How much water to use when flushing autoflowers
There’s no strict rule, but here’s what I go by:
- Soil – 2x–3x the volume of the pot per flush. So for a 3-gallon pot, use 6–9 gallons of water.
- Coco – Similar volume to soil, but spread over more frequent flushes.
- Hydro – The entire reservoir is changed, usually 5–10 gallons depending on your system size.
You want enough water to displace any remaining nutrients and give the roots access to clean hydration.
Should you pH the water during a flush?
Absolutely, yes. Even though you’re not feeding nutrients, your plants still absorb water through their roots, and incorrect pH can lead to lockout or stress. Here’s the target range:
- Soil – pH 6.3–6.8
- Coco – pH 5.8–6.2
- Hydro – pH 5.8–6.2
Using the right pH keeps nutrient uptake channels open so the plant can mobilize and use stored minerals more efficiently during the final stage.

Common Flushing Mistakes to Avoid
Starting too early or too late
Timing is everything. If you flush too early, you risk starving the plant before it’s done bulking up. Too late, and you’ll still have leftover nutrients in the final bud. My advice? Keep a close eye on trichome development with a magnifier or loupe. That’s your best indicator of when to start.
Overwatering vs. flushing – key differences
This one gets a lot of growers. Overwatering means roots stay wet for too long, which can suffocate them and cause root rot. Flushing, on the other hand, means you water thoroughly but allow the medium to dry slightly between flushes. Always check your pot’s weight and drainage. You want wet/dry cycles—just with clean water.
Skipping flushing in organic grows – is it necessary?
This is up for debate. Some organic growers don’t flush at all, claiming their microbes and natural nutrients break down cleanly. That’s partially true—but I still recommend a short flush (5–7 days) even in organic setups. It helps the plant finish cleanly and fade naturally, especially if you’ve been top-dressing or using organic teas late into flower.
What to Expect After Flushing and Before Harvest
Yellowing leaves – what’s normal and what’s not
During flushing, it’s normal for fan leaves to yellow and curl as the plant uses up stored nitrogen and enters senescence. Don’t panic—it’s a sign the flush is working. However, if the buds themselves are yellowing or the plant wilts severely, you may have gone too hard or too early. Always flush based on trichome maturity, not just leaf color.
How flushing impacts trichome development
Flushing doesn’t stop trichome development—in fact, it often enhances it. As the plant stops receiving nutrients, it focuses on ripening and finishing. You’ll often notice a boost in terpene production, stickier resin, and more consistent trichome color during this time. That final week of flushing is when your autoflower puts the icing on the cake.
Final pre-harvest checks after a proper flush
Before you break out the scissors, check the following:
- Trichome color – Mostly milky with 10–20% amber
- Buds – Dense, swollen, and aromatic
- Leaves – Yellowing naturally from the bottom up
- Runoff EC – Low, ideally under 0.4–0.5 mS/cm
If everything checks out, you’ve got yourself a properly flushed, harvest-ready autoflower.
Conclusion
Flushing autoflowers is one of those finishing touches that separates great growers from good ones. It’s about patience, precision, and knowing your plant’s rhythm. Whether you’re growing in soil, coco, or hydro, the goal is the same—clean, smooth, potent buds that showcase the true flavor and potency of your strain. I’ve done it hundreds of times and I still don’t skip it. If you want a final product that hits clean and tastes like the strain you intended, flushing is the way to go. Take your time, trust your plants, and don’t rush the finish line—you’ve come too far for that.