The Best Fluffy Pancakes recipe you will fall in love with. Full of tips and tricks to help you make the best pancakes.
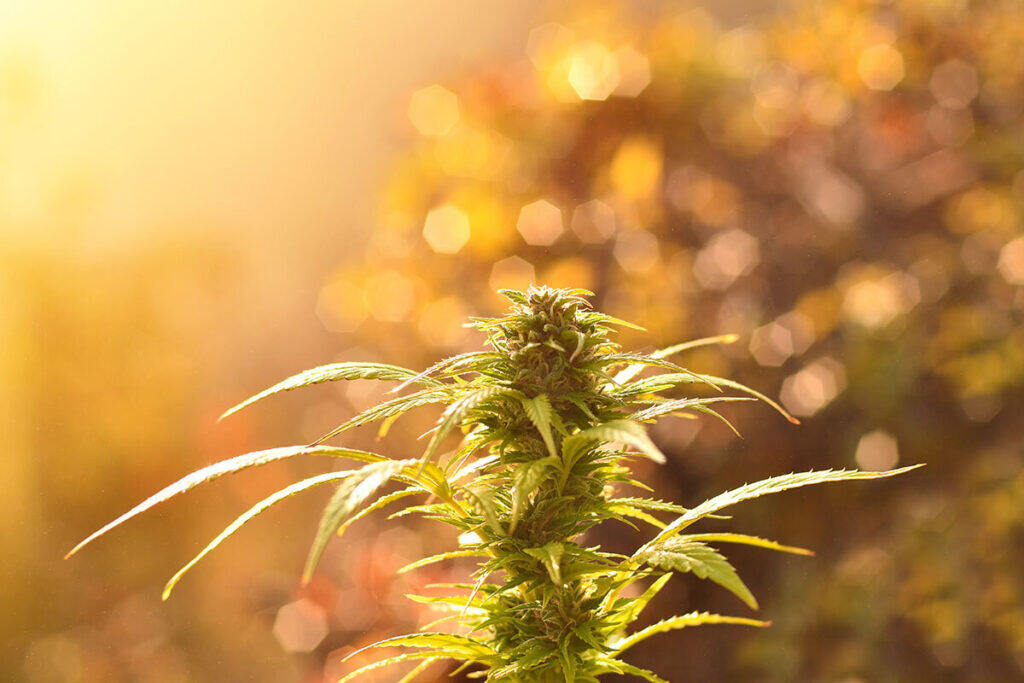
How to Grow Autoflowers Outside?
Growing autoflowering marijuana outdoors is a fun and straightforward way to cultivate weed without much hassle. Autoflowers are beginner-friendly, resilient, and don’t need the complicated light cycles that regular cannabis strains do. Let’s walk through the steps to help you grow some fantastic outdoor autoflowers, from picking the right seeds to harvesting your frosty buds.
Understanding Autoflowering Cannabis
Autoflowering cannabis plants are unique because they don’t rely on specific light cycles to start flowering. Instead, they automatically switch to the flowering stage after a few weeks of growth. This makes them perfect for beginners or anyone looking for a quicker grow cycle.
What are autoflowers and why are they different?
Autoflowers are like the easy-going cousins of regular photoperiod cannabis plants. They don’t need you to adjust light exposure to bloom. Whether they’re under 24 hours of sunlight or 10 hours, they’ll flower on their own, usually within 8 to 12 weeks. That’s because they’ve got a little bit of Ruderalis genetics mixed in, a cannabis variety known for its ability to thrive in tough environments and flower automatically.
Key advantages of growing autoflowers outdoors
There’s a lot to love about growing autoflowers outside. For one, they’re quick, often ready for harvest in just 10-12 weeks. Plus, they’re smaller and more discreet than regular cannabis plants, making them perfect for those who want to keep things low-key. Since they’re tough, autoflowers also hold up well against pests and mold, which can be a pain for outdoor growers. Additionally, autoflowers can still produce solid yields despite their shorter cycle.
Common challenges when growing autoflowers outside
While autoflowers are tough, they’re not invincible. Because of their short life cycle, you don’t have much room for mistakes. Problems like nutrient deficiencies, pests, or bad weather can take a toll quickly. Timing is everything, so planting them too late in the season can limit your yield.
Choosing the Right Autoflowering Seeds
Picking the right seeds is the first step to a successful grow. The strain you choose will impact everything from how tall your plants get to the kind of high they deliver.
Selecting high-yielding autoflower strains
Not all autoflowers are created equal. If you want a high yield, go for strains like Gorilla Glue Auto, Bruce Banner Auto, or Purple Lemonade Auto. These babies are known for pumping out dense, resin-coated buds. Always check the seed bank’s recommendations for outdoor growing to make sure they suit your climate.
Factors to consider for outdoor growing conditions
When growing outside, your local climate matters a lot. If you live somewhere hot and dry, go for strains that can handle the heat. If your area is more humid, look for mold-resistant strains. Autoflowers need a minimum of 10 hours of sunlight, but they’ll thrive with 12-16 hours a day.
Germination methods for autoflower seeds
The best way to germinate autoflower seeds is by soaking them in water for about 12 hours, then transferring them to a damp paper towel. Once the taproot pops, you’re good to plant. Since autoflowers don’t love being transplanted, it’s best to plant them directly into their final growing spot.
Preparing Your Growing Site
Where and how you plant your autoflowers makes all the difference. Let’s get that perfect outdoor setup ready!
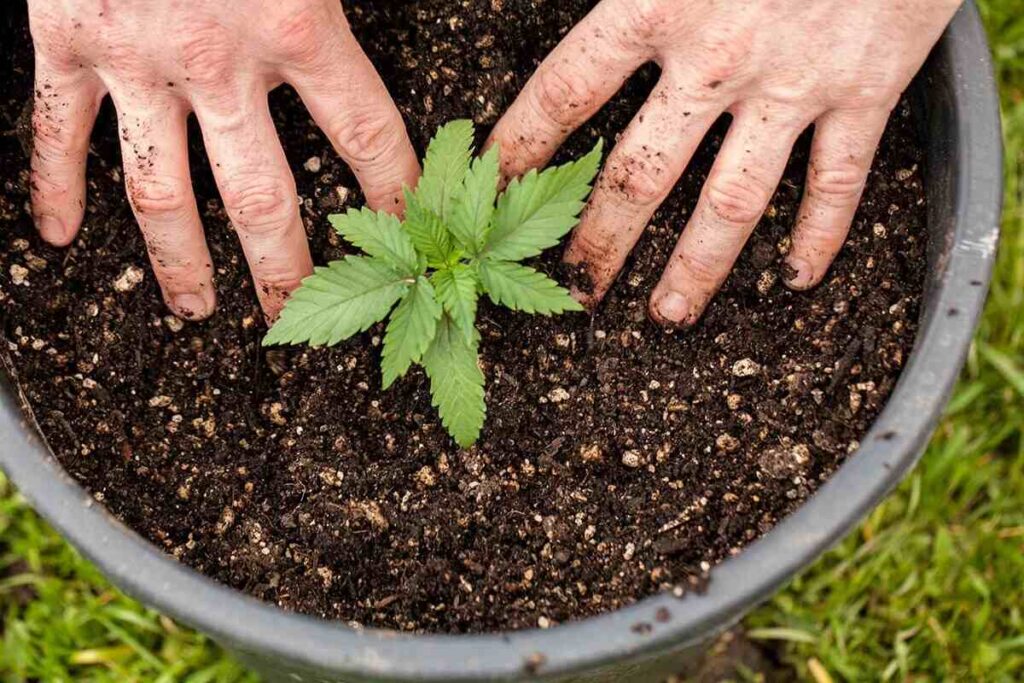
Selecting the ideal location for sunlight and airflow
Pick a spot that gets as much sunlight as possible—at least 10 hours a day is the goal. If you’re growing in pots, place them in a spot where you can rotate them to follow the sunlight. You also want good airflow to keep mold and pests at bay.
The importance of soil and containers
Autoflowers love well-draining soil, so don’t go for anything too heavy or dense. If you’re growing in pots, choose fabric or air pots that help with root development. These let your plant’s roots breathe and prevent them from getting root-bound.
How to test and adjust soil pH for optimal growth
Autoflowers prefer soil with a pH of 6.0 to 7.0. To test, you can use a simple pH kit from any garden store. If your pH is too high, add some sulfur to bring it down. If it’s too low, a bit of lime will do the trick. Keeping your soil’s pH in check helps your plant absorb nutrients better.
Planting and Early Care
Now that your seeds have popped and your site is prepped, it’s time to get them in the ground and off to a good start.
Best practices for planting germinated seeds
Plant your germinated seeds about 1 inch deep into the soil. Make sure the taproot is facing down. If you’re using pots, plant them in their final container right from the start to avoid transplant shock. Keep the soil moist but not soaked, and be gentle with your new seedlings.
Watering schedules and techniques for young plants
Autoflowers are thirsty little plants, especially during the seedling stage. Water them lightly every day, aiming for early morning or late afternoon to avoid evaporation. Just make sure not to soak the leaves in direct sunlight, or you’ll risk sunburning them.
How to protect seedlings from pests and harsh weather
Keep an eye out for pests like aphids or spider mites that can munch on your young plants. You can use neem oil or even plant some companion plants like marigolds to repel pests naturally. If the weather turns cold or rainy, you can cover your plants with a light plastic sheet for protection.
Growing and Maintenance
Once your plants are established, it’s all about keeping them healthy and happy throughout their life cycle.
Nutrient requirements for outdoor autoflowers
Autoflowers don’t need as many nutrients as regular cannabis plants because they grow so quickly. Stick to a lighter feeding schedule, and focus on the essentials: nitrogen for the early growth stage and phosphorus and potassium for flowering. Overfeeding can burn your plants, so less is more.
Watering guidelines for different climates
If you’re in a hot, dry climate, you may need to water more often. In cooler or more humid areas, you can ease up on the water. The general rule of thumb is to water when the top inch of soil feels dry. Too much water, especially in humid climates, can lead to mold and root rot.
Techniques for training and pruning autoflowers
Low-Stress Training (LST) works great for autoflowers. Gently bending the branches helps open up the plant to more sunlight and airflow, which can increase your yield. Avoid topping your autoflowers because they don’t have much time to recover from the stress.
Managing Pests and Mold
No grow is without challenges, but knowing how to manage pests and mold can save your crop.
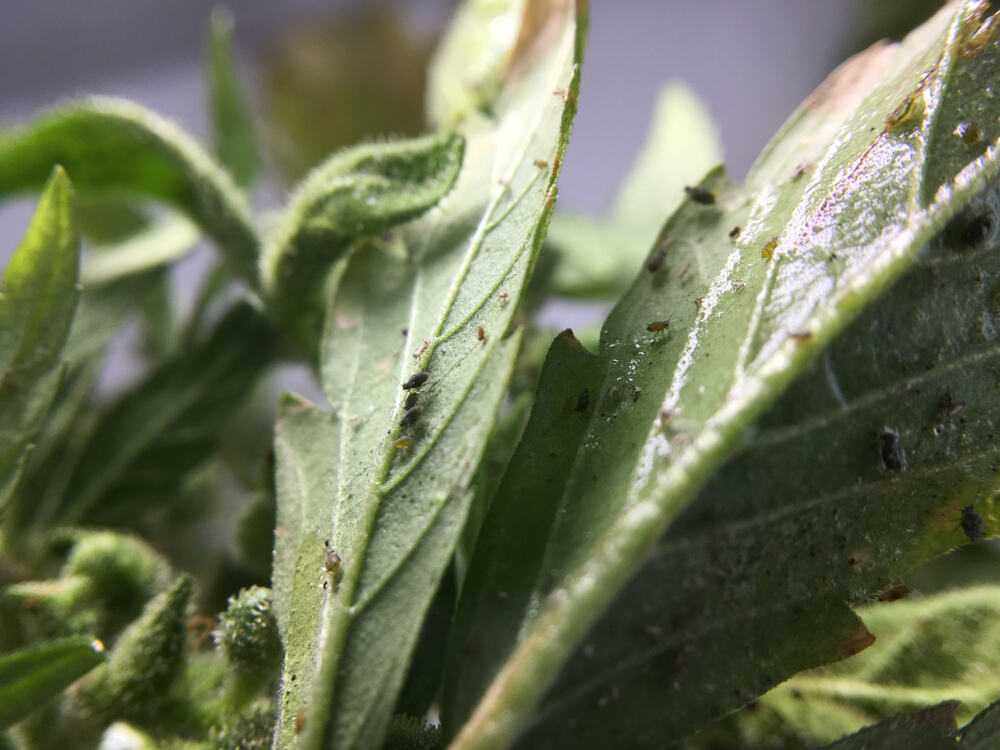
Common outdoor pests and natural remedies
Ladybugs, neem oil, and companion plants like garlic or onions can keep pesky insects like aphids away. For bigger pests like caterpillars, you might need to manually remove them or use organic insecticides.
Mold prevention and mitigation strategies
Mold is every grower’s nightmare, especially in humid environments. To prevent it, water your plants in the morning so they have time to dry during the day. If you spot mold on a bud, cut it out immediately and improve airflow around the plant by pruning some leaves.
Companion planting and pest deterrents
Certain plants can naturally keep pests away. For instance, planting basil or marigolds near your cannabis can deter aphids and other unwanted guests. This is an easy, organic way to protect your crop while enhancing the overall garden vibe.
Harvesting Autoflowers Outdoors
Now for the best part—harvesting those buds!
Identifying the right time to harvest
You’ll know your plants are ready when the pistils (those tiny hairs) turn dark and curl in, and the trichomes (crystals on the buds) become milky white with a few amber ones. This is when your bud is at its peak potency.
How to harvest, trim, and dry your plants
Snip the branches off your plants with sharp scissors, then trim away any large leaves. Hang the buds upside down in a dark, well-ventilated room to dry. It usually takes about 7-10 days for them to dry fully. The stems should snap, not bend, when they’re ready.
Curing for maximum potency and flavor
Once your buds are dry, pop them into glass jars, filling each jar about ¾ full. Open the jars daily for the first week to let them air out, then once or twice a week after that. Cure your buds for at least 2-3 weeks for the best flavor and potency.
FAQ
How long do autoflowers take to grow outdoors?
Most autoflowers take 8-12 weeks from seed to harvest. Timing may vary slightly based on the strain and environmental factors.
Do autoflowers yield more when grown outside?
Outdoor autoflowers can yield more due to natural sunlight and better airflow, but results depend on care and strain genetics.
How much sunlight do autoflowers need outdoors?
Autoflowers thrive with at least 10 hours of direct sunlight, but 12-16 hours…is ideal for the best yields.
Can autoflowers survive in cold or wet climates?
They’re resilient but don’t do well in extreme cold or constant rain. Opt for mold-resistant strains in wetter climates.
Do autoflowers need different nutrients compared to photoperiod strains?
Yes, autoflowers generally need fewer nutrients due to their shorter life cycle. Stick to a light feeding schedule to avoid nutrient burn.
Growing autoflowers outdoors is a simple, rewarding experience, especially if you’re new to marijuana cultivation. With the right setup—good seeds, plenty of sunlight, and some love and care—you’ll be harvesting your own high-quality weed in no time. Whether you’re after big yields, flavorful buds, or just the joy of growing your own stash, autoflowers are the way to go. So, grab your seeds, set up your outdoor grow, and get ready for an awesome harvest!



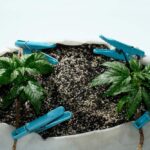
Would love to have any information on outdoor Autoflower drawing