The Best Fluffy Pancakes recipe you will fall in love with. Full of tips and tricks to help you make the best pancakes.
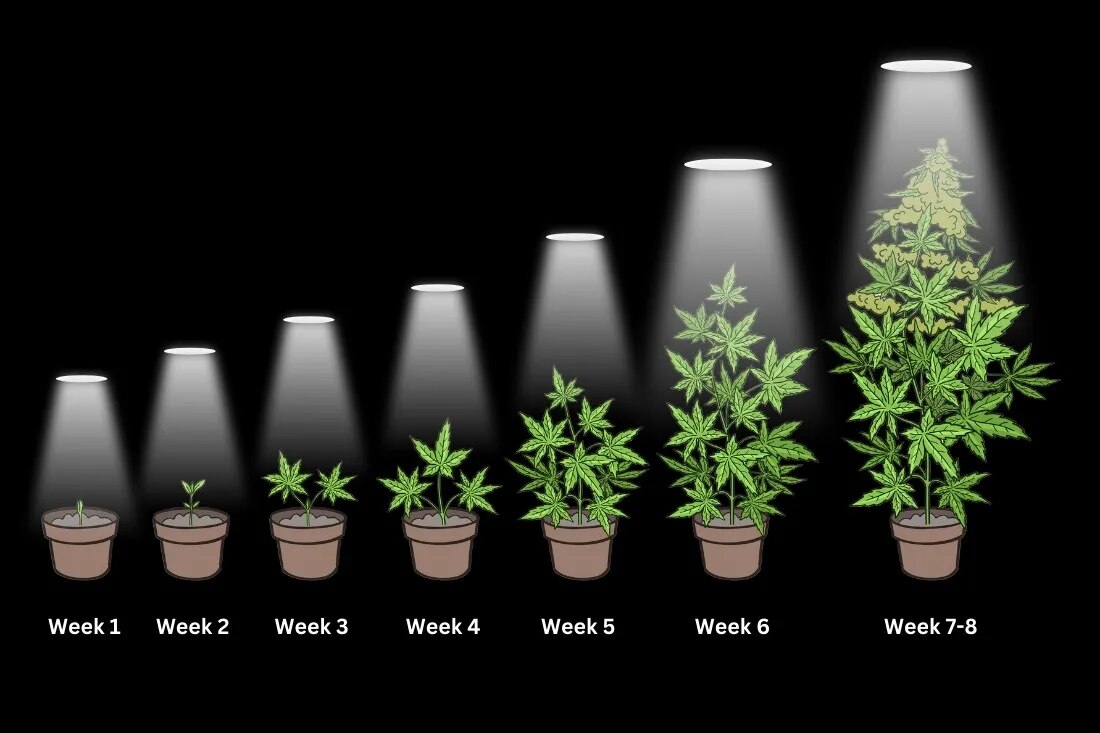
How to Grow Autoflowers Week by Week Guide
Growing autoflowering marijuana is a fun and rewarding process that anyone can master. These special weed strains make growing easy, thanks to their quick cycle and forgiving nature. You don’t have to stress about changing light schedules like you would with photoperiod plants, but a little guidance goes a long way. So, let’s break down each stage, week by week, to make sure your cannabis plants thrive.
Week 1: Germination and Seedling Stage
Germination techniques
Germination kicks things off, and there are a few ways to do it. One of my favorites is the water and paper towel method. First, soak your seeds in a glass of water for 24 hours. After that, transfer them to a damp paper towel inside a Ziploc bag. Keep them in a warm, dark spot, and within a couple of days, you’ll see those little taproots start to poke out. That’s when your seeds are ready to plant.
Seedling care and environment
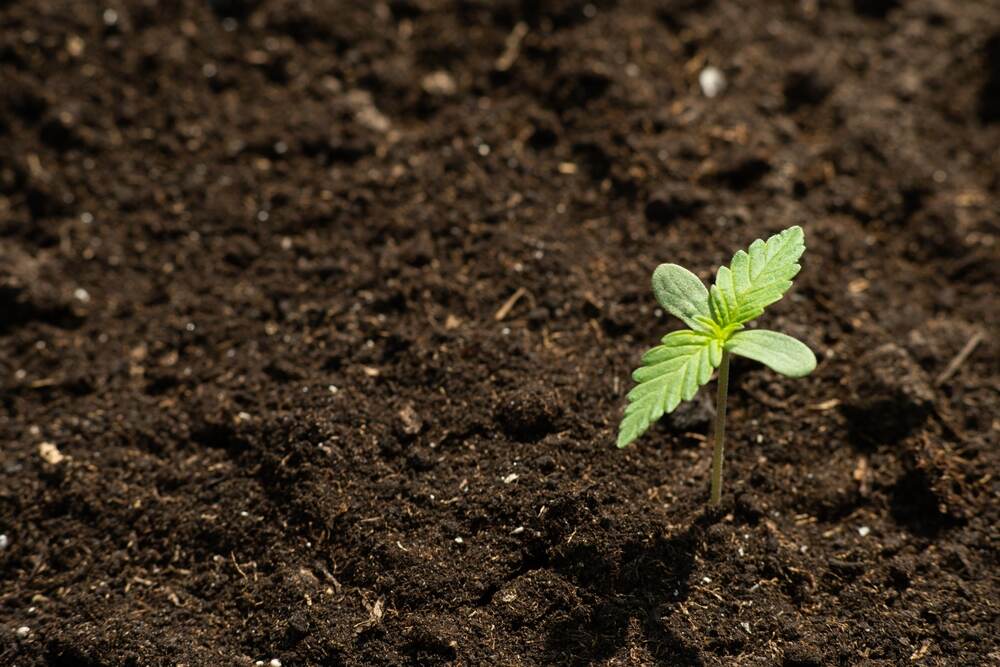
Once your seedlings break through the soil, it’s all about giving them the right environment. Keep humidity high, around 70-80%, and make sure temperatures stay cozy (about 68-77°F). Use a gentle light source, like a fluorescent or LED light, and remember to keep the soil lightly moist—don’t drown your young plants. Your seedlings don’t need any nutrients just yet since everything they need is still in the seed.
Common mistakes during germination
It’s easy to overwater at this stage, but trust me, less is more. Also, don’t plant your seeds too deep in the soil—it can stunt their growth. A shallow planting works best for this stage.
Week 2-3: Early Vegetative Stage
Recognizing the start of vegetative growth
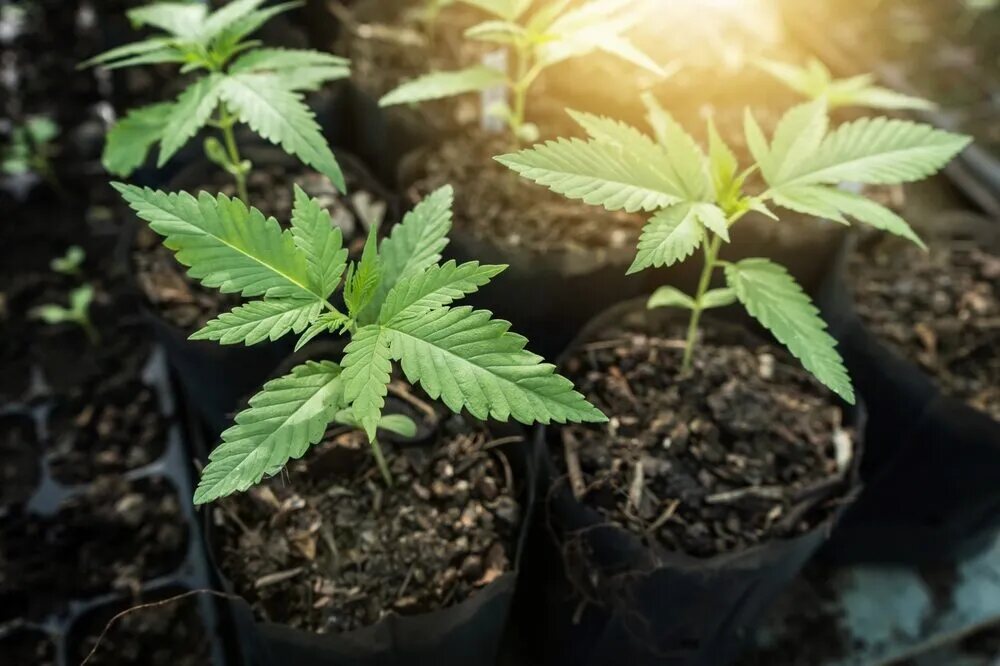
By week 2, your little plants should be looking strong with a few sets of leaves. This is when they officially enter the vegetative stage, and you’ll notice faster growth as they get bigger and bushier. Keep an eye on them as they soak up the light and prepare for what’s next in the growth cycle.
Light and watering requirements for vegetative growth
Autoflowers seeds grow best under either 18/6 or 20/4 light cycles. I like to keep mine at 18/6, but if you’re in a hurry, you can push it to 20/4. Make sure your plants have enough water, but don’t overdo it. Let the top inch of soil dry out between waterings to avoid root rot.
Nutrient schedule: what and how much to feed
At this stage, you can start introducing nutrients, but go easy—autoflowers don’t need as much as photoperiod strains. A mild, balanced nutrient solution will work wonders. Gradually increase the dose as your plants grow, but always keep an eye out for signs of nutrient burn.
Week 4-5: Late Vegetative Stage
Signs of pre-flowering
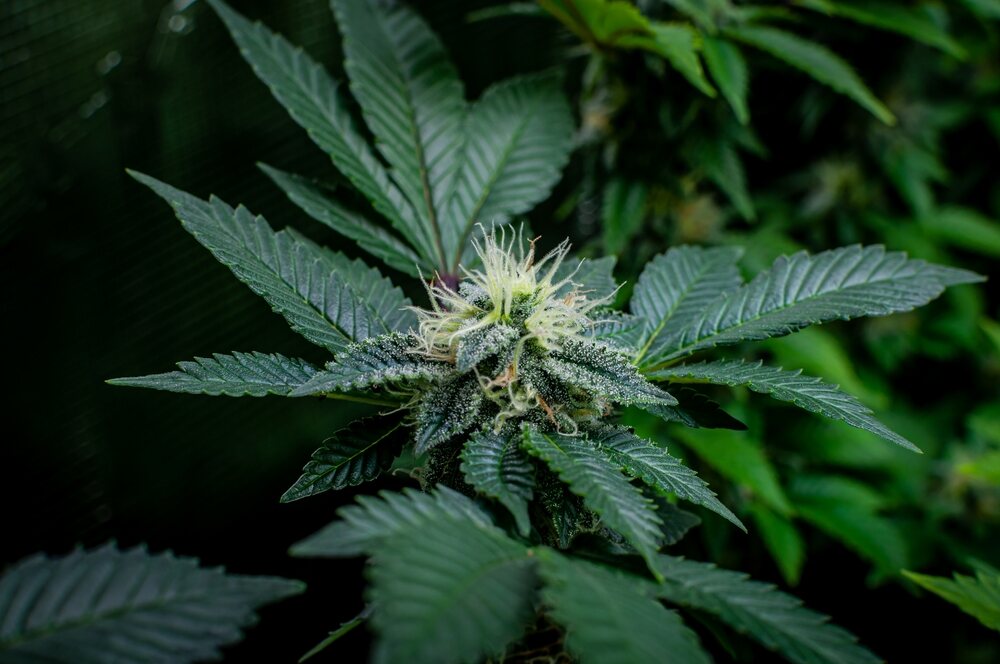
Around weeks 4 and 5, you’ll start seeing signs that your plants are gearing up for flowering. Little white pistils will pop out at the nodes—this is your plant telling you it’s about to shift focus from growing taller to growing buds. Make sure to capture this exciting stage in pictures to track the transformation.
Adjusting light and nutrient schedule
Autoflowers don’t need a change in light cycles to start flowering, so you can keep your schedule the same. However, it’s time to start phasing out the veg nutrients and bringing in the bloom nutrients. Focus on phosphorus and potassium to help with bud development.
Low-stress training (LST) during vegetative growth
If you want to increase yields, now’s the time to train your plants. Low-stress training (LST) is a great way to get more light to the lower parts of your plant without stressing it out too much. Bend and tie down the branches, but avoid cutting or topping, as autoflowers don’t have the luxury of time to recover.
Week 6-7: Flowering Stage
Recognizing the start of flowering
At this point, your plants are in full bloom—literally. You’ll see the buds forming at the flowering sites, and the white pistils will keep growing. It’s time to focus on giving them everything they need to make those buds as big and resinous as possible.
Nutrient and environmental adjustments for optimal bud growth
By now, you should be fully into a bloom nutrient schedule, giving your plants plenty of phosphorus and potassium to support flowering. Keep the environment steady, with temperatures around 68-77°F and humidity at 40-50%. This helps prevent mold and pests from ruining your harvest.
Dealing with pests and mold in flowering plants
Pests and mold love this stage, so don’t let them take over your grow. Good airflow, regular monitoring, and keeping humidity in check will help keep your weed plants healthy. If you spot any pests, act fast with organic pest control solutions.
Week 8-10: Late Flowering and Harvest
How to identify when to harvest
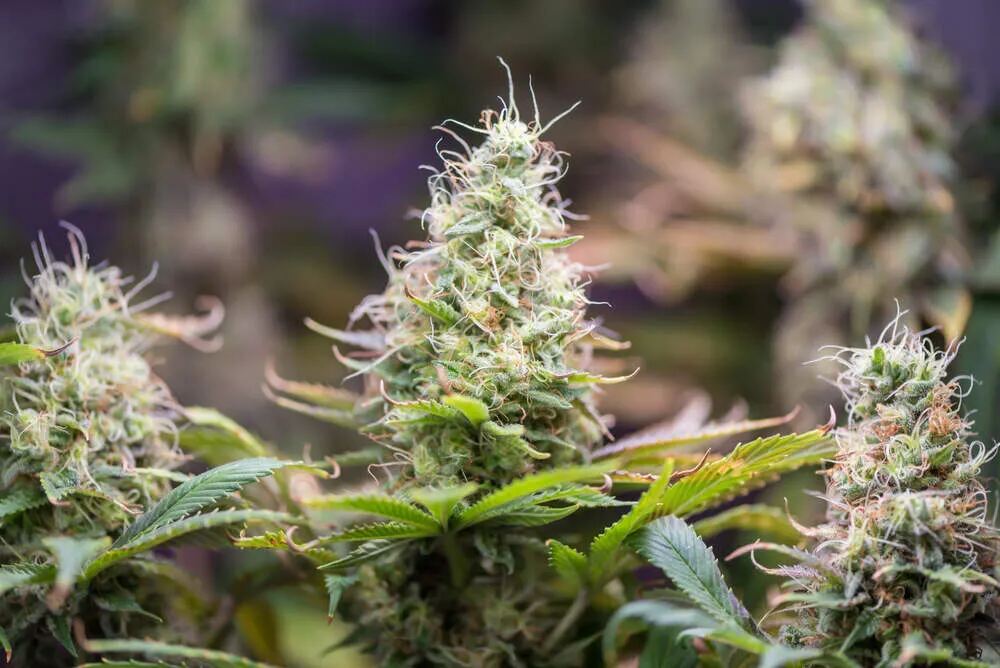
The magic moment is almost here! To know when your plants are ready, use a magnifying glass or loupe to check the trichomes. When they’re mostly cloudy with a few amber ones, it’s time. The pistils will also change from white to orange or brown.
Trichome color and other harvest indicators
The trichome color is key—clear trichomes mean the plant isn’t ready, while cloudy trichomes mean peak THC levels. A little amber means the plant is maturing, but too much amber can result in a more sedative effect. Aim for a balance of mostly cloudy with a touch of amber.
Flushing your plants before harvest
About two weeks before harvest, I like to flush my plants with plain water to get rid of any leftover nutrients. This improves the taste and smoothness of your final product, making sure your smoke isn’t harsh.
Post-Harvest: Drying and Curing
How to properly dry your cannabis
Once harvested, hang your buds upside down in a dark, well-ventilated space. Keep the temperature around 60-70°F and humidity at 50% for about 7-10 days. This slow drying process ensures you maintain potency and flavor.
Best practices for curing to preserve potency and flavor
After drying, your buds need to be cured. Put them in airtight jars and store them in a cool, dark place. Open the jars daily for the first couple of weeks to let out moisture (burping). This curing process can take 2-4 weeks, but the longer you cure, the better the flavor and smoothness.
FAQ
What light schedule is best for autoflowers?
18 hours of light and 6 hours of darkness works best for autoflowers, but some growers push it to 20/4 for faster growth. Autoflowers don’t need light changes to flower.
How long do autoflowers take from seed to harvest?
Autoflowers typically take 8-12 weeks from germination to harvest, depending on the strain. Sativa-dominant strains may take longer, while indica-heavy ones are quicker.
Do autoflowers need different nutrients than photoperiod plants?
Yes, autoflowers need fewer nutrients overall due to their shorter cycle. Use a lighter nutrient feed and be careful not to overdo nitrogen during flowering.
Can autoflowers be grown outdoors?
Yes, autoflowers thrive outdoors thanks to their short life cycle and hardiness. You can plant multiple crops in one season and still have time for a great harvest.
How do I know when my autoflowers are ready to harvest?
Check the trichomes with a magnifying glass. When they are mostly cloudy with some amber, your plant is ready. Most pistils will have also turned orange or brown.
Growing autoflowers is an enjoyable experience, especially with a strain that fits your setup. Stick to the week-by-week guide, provide the right amount of light and nutrients, and your plants will reward you with beautiful buds come harvest time. Happy growing!


