The Best Fluffy Pancakes recipe you will fall in love with. Full of tips and tricks to help you make the best pancakes.
How Long Does It Take to Grow Cannabis?
Growing cannabis can be a rewarding process, but you’re probably wondering, “How long is this going to take?” Well, it depends on a few factors, but I’ve got you covered. Whether you’re growing indoors, outdoors, or using autoflowers, I’m here to break down each stage of the cannabis growth cycle and how long you can expect things to take from start to finish. Let’s dive in!
Overview of the Cannabis Growth Cycle
The life of a cannabis plant can be split into a few distinct stages. Each stage has its own time frame, and knowing these stages will help you understand the entire growing process.
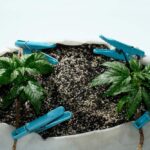
Germination Phase
This is where it all starts. You pop your seeds, and they crack open, usually within 3-10 days. Keep them in a moist environment—like a damp paper towel or straight into soil—and watch for that little taproot to sprout.
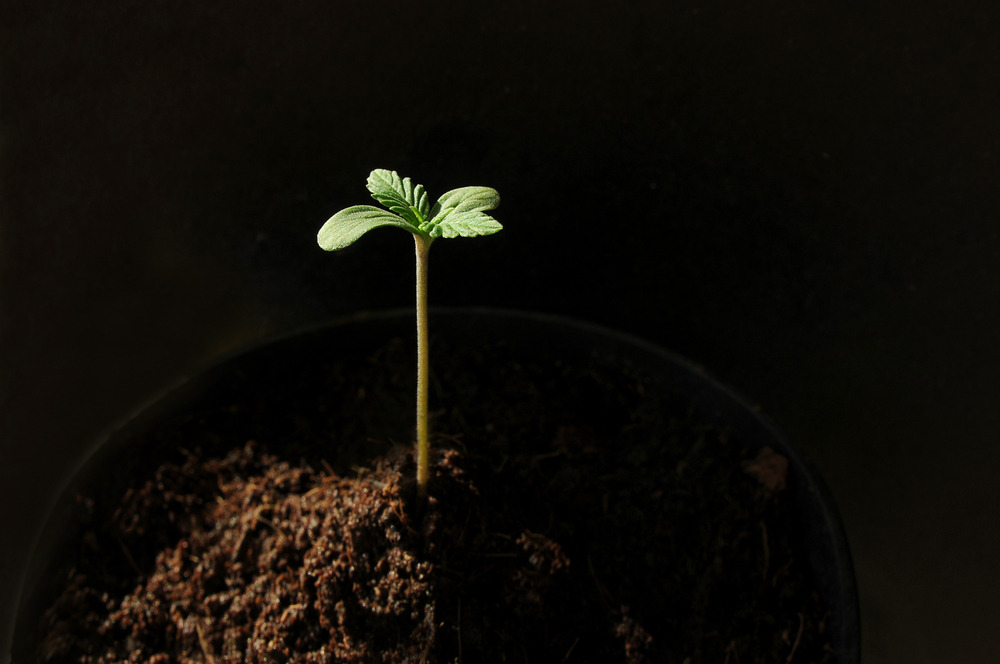
Seedling Stage
Once your seeds germinate, they move into the seedling stage. This lasts about 2-3 weeks. Your plant will focus on building roots and growing its first few leaves. You’ll want to make sure it’s getting the right amount of light and water during this period to help it thrive.
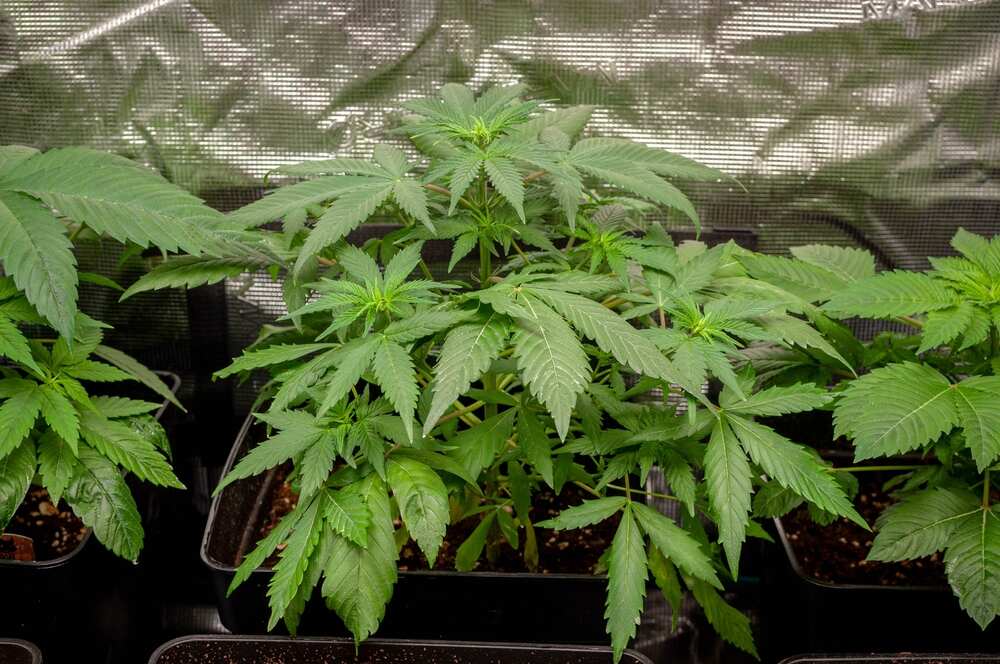
Vegetative Growth
The vegetative stage is when your plant will really start shooting up. Depending on the strain, this phase can last anywhere from 3-16 weeks. During this time, you’ll see a lot of upward growth and leaf production. This is also when you’ll want to start training your plant (if you’re into that) and giving it plenty of nutrients.
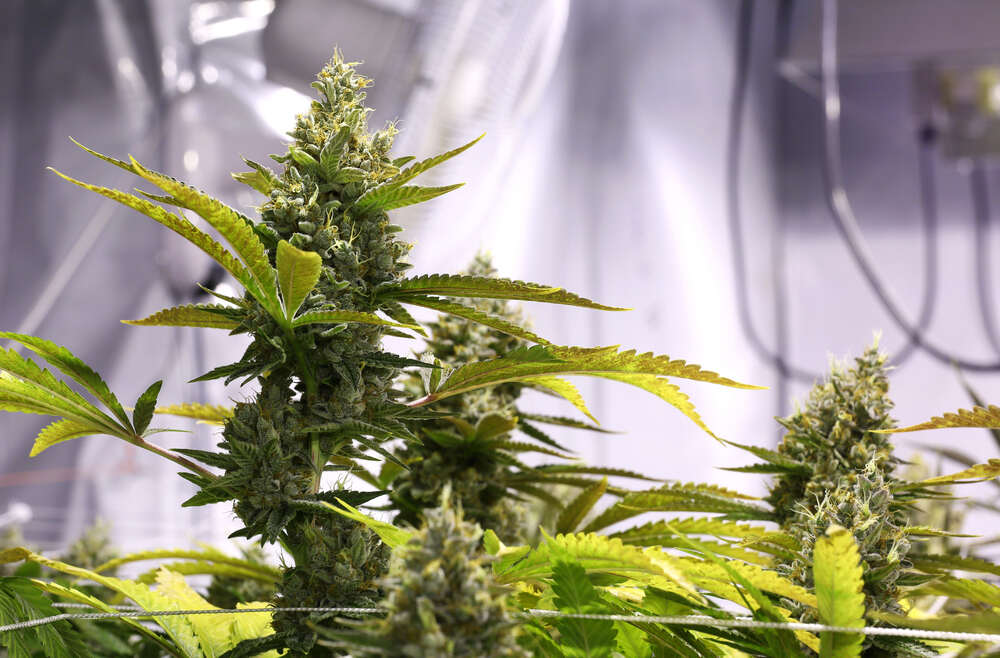
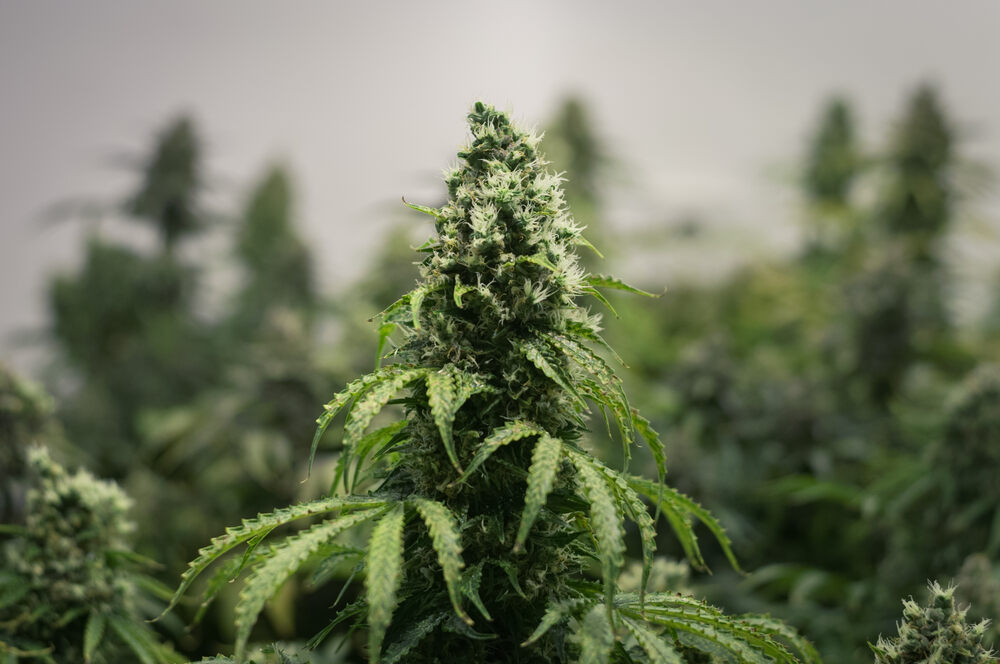
Flowering Stage
Here’s where the magic happens! The flowering stage typically lasts between 6-12 weeks, depending on the strain. This is when your plant starts developing buds, and you’ll need to keep a close eye on things like light exposure and nutrient intake to get the best harvest.
Factors That Affect Cannabis Growing Time
Several factors can impact how long your cannabis takes to grow. Let’s break down the key players.
Strain Type (Indica, Sativa, Autoflowering)
Indica strains tend to grow faster than sativas, with flowering times ranging between 6-9 weeks, while sativas can take up to 12 weeks or more. Autoflowers are the fastest of all, completing their lifecycle in as little as 8-10 weeks from seed to harvest.
Indoor vs. Outdoor Growing
If you’re growing outdoors, the timeline depends heavily on the seasons. Outdoor plants generally take longer to grow since they rely on natural light cycles. Indoor growing gives you more control over light, temperature, and humidity, allowing you to speed things up a bit.
Climate and Environmental Conditions
If you’re growing outdoors, factors like temperature, humidity, and the amount of sunlight your plants get will affect their growth. Indoors, you can control all of this, but it’s still something to consider—too hot, too cold, too dry, or too wet can all slow down your plants’ progress. Ideal temperatures for cannabis growth are around 70-85 degrees Fahrenheit.
Light Cycles and Exposure
Cannabis plants are sensitive to light cycles. Indoor growers usually set their lights to 18 hours on and 6 hours off during the vegetative phase, then switch to 12 hours of light and 12 hours of darkness to trigger flowering. This can affect how long the plant takes to reach harvest.
How Long Each Growth Phase Takes
Each growth phase has its own timeline. Let’s break down how long you can expect each one to last.
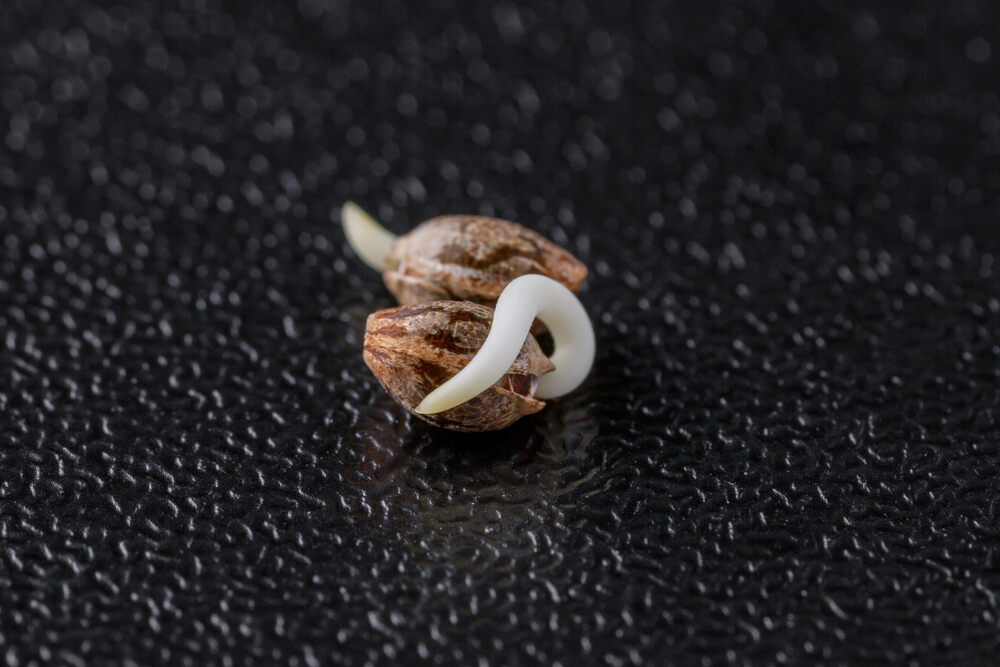
Germination (3-10 Days)
Germination is pretty quick. Most seeds will crack within 3-10 days, especially if you keep them moist and warm. Once the taproot emerges, you’re ready to plant them.
Seedling (2-3 Weeks)
The seedling stage takes around 2-3 weeks. Your plant will be small and delicate during this time, so keep it under plenty of light and don’t overwater.
Vegetative Phase (3-16 Weeks)
How long your plant stays in the vegetative stage depends on the strain and whether you’re growing indoors or outdoors. Indoor growers can extend this phase to get a bigger plant, while outdoor plants rely on natural light cycles.
Flowering Phase (6-12 Weeks)
The flowering phase can last anywhere from 6-12 weeks. This is where the strain type comes into play—indicas generally flower faster, while sativas take their sweet time. Keep an eye on the trichomes to determine when it’s ready to harvest.
Harvest and Drying Time
Once you’ve harvested your buds, they’ll need to dry for about a week, then cure for another 2-3 weeks to reach their full flavor and potency.
Tips to Speed Up Cannabis Growth
If you’re impatient like me, you’ll want to know how to speed things up without sacrificing quality. Here are some pro tips.
Choosing Fast-Growing Strains
Go for autoflowering strains if you want a quick turnaround. They don’t rely on light cycles to flower and are usually ready to harvest in about 8-10 weeks.
Optimizing Lighting and Temperature
Get yourself a good set of grow lights and keep the temperature stable. Cannabis likes warmth but not too hot—around 70-85 degrees Fahrenheit during the day is ideal. More light during the vegetative phase helps the plant grow faster, while controlled lighting triggers the flowering stage when you’re ready.
Using Nutrients Effectively
Using the right nutrients at the right time can boost your plant’s growth. During the vegetative phase, cannabis needs more nitrogen, while in the flowering phase, it craves phosphorus and potassium.
Managing Pests and Diseases
Nothing slows your plants down like a bug infestation or disease. Keep your grow area clean and check your plants regularly for any signs of trouble. Early detection is key to keeping your plants healthy and growing fast.
FAQ:
How long does it take to grow cannabis from seed to harvest?
It typically takes 3-7 months to grow cannabis, depending on the strain and growing conditions.
What factors affect cannabis growth time?
Strain type, light exposure, and whether you grow indoors or outdoors all impact how long cannabis takes to grow.
Can you speed up cannabis growth?
Yes, by choosing fast-growing strains, optimizing lighting, and using nutrients correctly, you can speed up cannabis growth.
How long does the flowering stage last?
The flowering stage usually lasts between 6-12 weeks, depending on the strain.
How long does it take for autoflowering cannabis to grow?
Autoflowering cannabis typically completes its lifecycle in 8-10 weeks from seed to harvest.
Growing cannabis is a journey, but once you understand the growth cycle and how each factor affects the process, you’ll be better equipped to plan your grow. Whether you’re going for a quick autoflower or growing a photoperiod strain indoors or out, patience and attention to detail will pay off in the end. Now you know how long it takes to grow weed.