The Best Fluffy Pancakes recipe you will fall in love with. Full of tips and tricks to help you make the best pancakes.
Topping and Training Autoflowering Strains
Growing autoflowering cannabis strains is one of the smartest ways to get quick, potent yields—especially if you’re working with limited space or short grow seasons. But if you want those dense buds and a canopy that soaks up every drop of your grow light’s power, you’ve got to get hands-on with training. This includes low-stress methods like LST, and high-stress methods like topping and FIMing.
Now, I know what you’re thinking: Can you really top an autoflower? Aren’t they too sensitive? The truth is, yes, you can—if you know exactly when and how to do it. I’ve trained autoflowers in every way possible and I’m here to show you how to do it right, from the best time to start bending branches to topping techniques that won’t mess up your grow.
Let’s go through it together step by step so you can confidently manipulate your plants for better growth, bigger buds, and fatter harvests.
Why Train Autoflowering Strains?
Training autoflowers might seem risky to some growers, especially given their short vegetative phase. But when done properly, it’s one of the best ways to increase yields and manage canopy height. Autoflowers don’t wait around for you—they move from seedling to flowering whether you’re ready or not. So the earlier you intervene with the right training method, the better.
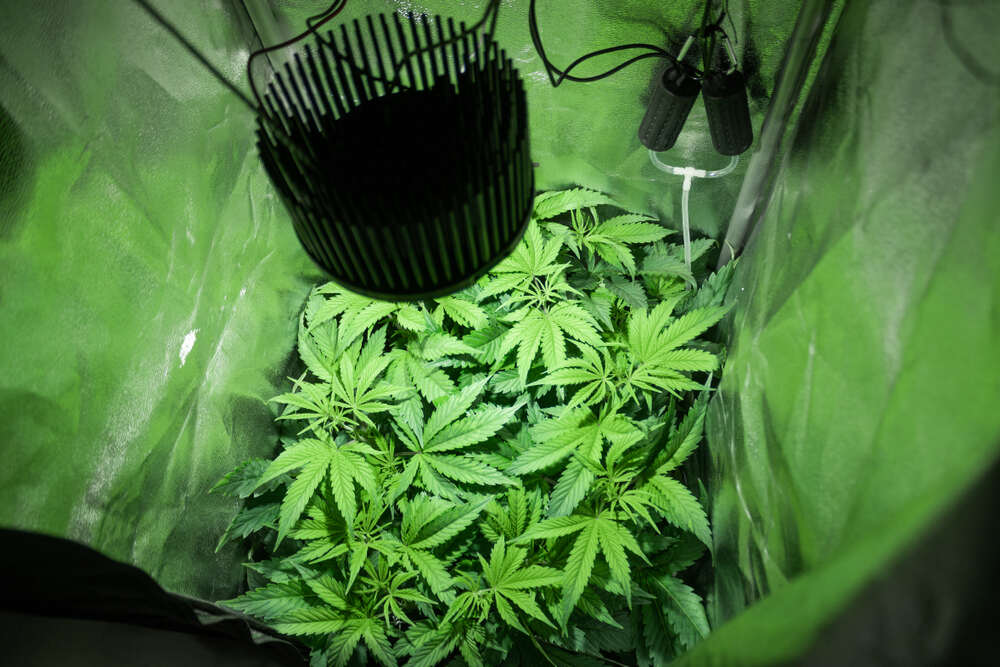
Benefits of a flat canopy and multiple colas
The goal of training autoflowers is to create an even canopy. This is when all your colas—those chunky bud-producing tops—are the same height. When your canopy is flat and wide instead of tall and narrow, your grow lights distribute more evenly. That means:
- Each bud site gets optimal light exposure
- Less shading from top-heavy colas
- Airflow improves through the canopy
- You reduce the risk of mold and heat stress
The result is a plant that doesn’t just grow a massive central cola, but multiple heavy colas across the canopy. That means more grams per watt and a more productive plant overall. It’s what I aim for every time, especially when growing indoors under LED panels.
Challenges unique to autoflowers’ short vegetative phase
Unlike photoperiod strains, autoflowers don’t wait for you to flip the lights to 12/12. They start transitioning to flower in as little as 3 weeks from germination. That gives you a short window—roughly from day 10 to day 21—to shape the plant.
Here’s where many growers slip up:
- They top too late, and the plant doesn’t have time to recover
- They stress the plant too much, causing stunted growth
- They wait for signs of sex, which comes too late with autos
Training early is the key. You’ve got to commit while the plant is still developing its early nodes. If you’re unsure, start with low-stress training (LST) before moving on to more aggressive techniques like topping or FIM.
Low-Stress Training (LST) for Autoflowers
LST is your best friend when it comes to autoflowers. You’re bending—not breaking—stems to manipulate the plant’s structure gently. This keeps stress low while still giving you control over the shape and height of the plant.
When to start LST (3–4 node stage)
The best time to start LST is when your autoflower hits the 3rd or 4th node. This usually happens around day 10 to day 14 from seed. You want the main stem to be sturdy enough to bend without snapping, but still flexible.
If you wait too long, you miss the opportunity to control shape during the most crucial stage of vegetative growth. I always start LST as soon as the 4th node shows and the stem looks strong enough to handle the bend.
Step-by-step bending and tying techniques
Here’s how I do it:
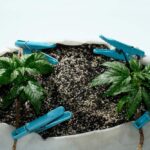
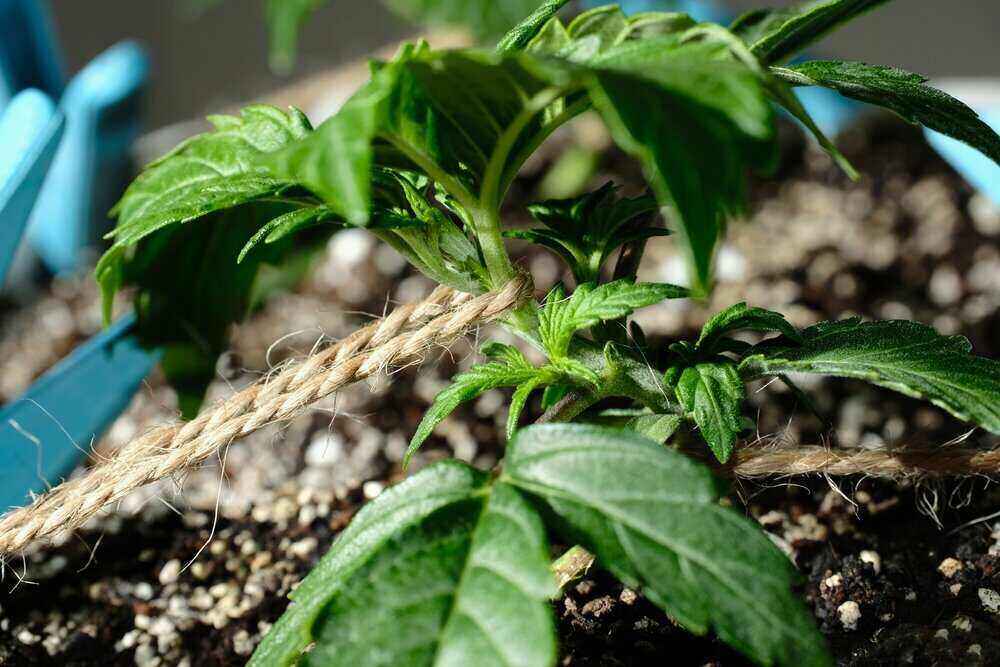
- Anchor the base: Use soft plant ties or garden wire to gently anchor the base of the main stem to the side of your pot. This prevents the whole plant from shifting when you start bending.
- Bend the main stem: Gently bend the main stem horizontally so it lays flat, usually just above the 3rd or 4th node.
- Tie it down: Use another tie to hold the main stem in place. Always loop ties loosely—don’t choke the stem.
- Watch the side branches: These will start reaching up to become new tops. As they grow, bend and tie them outward, creating a wider, flatter canopy.
Adjusting ties as plant grows for optimal light exposure
Your plant will keep growing fast, especially in the first few weeks. I check my plants daily and adjust ties as new growth appears. The goal is to keep the canopy as horizontal as possible so all the bud sites get equal light.
This also reduces the dominance of a single cola and helps redirect energy to the whole plant. Think of it like flattening a bush rather than growing a Christmas tree.
High-Stress Training: Topping, FIM, and Super Cropping
High-stress training methods can be effective for autoflowers, but you’ve got to treat them like sensitive athletes—they can handle a challenge, but push too hard and they’ll never fully recover.
Differences between topping and FIM on autoflowers
Topping and FIM (short for “F*** I Missed”) both aim to break apical dominance, which is when the main cola steals energy from lower branches.
- Topping removes the entire top node. This forces the plant to grow two new colas at the site of the cut.
- FIM removes just the top portion of the new growth, sometimes resulting in 3 or 4 new shoots instead of just 2.
FIM is slightly less stressful than topping, but also less predictable. I personally prefer topping when I know I’ve got a strong seedling and good conditions. FIM is better if I want to be cautious.
Ideal timing (4th–5th node, week 3) and how to top/fim correctly
Timing is everything. For autoflowers, I top at the 4th or 5th node, usually around day 18 to 21. That gives the plant just enough time to recover before it starts flowering.
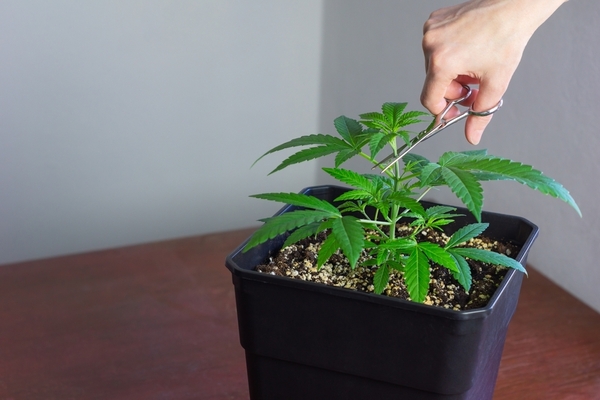
To top:
- Wait until the 5th node has clearly formed
- Use clean, sharp scissors
- Cut just above the 4th node
To FIM:
- Pinch or snip about 75% of the new growth at the top
- Be gentle—it’s easy to damage too much or too little
Super cropping: pinching inner stem and recovery time
Super cropping is a bit more aggressive. It involves pinching the inner tissue of a branch to soften and bend it without breaking the outer skin. This stress causes the plant to thicken its stem and redirect energy to recovery, often resulting in stronger growth.
How I super crop:
- Choose a tall branch you want to tame
- Pinch it between your thumb and finger until it feels soft
- Bend it over carefully, making sure it doesn’t snap
- Support it with ties or tape if needed
This technique works best just before flowering, but don’t use it unless your plant is healthy and growing fast. Autos don’t always have time to bounce back if stressed too hard.
Maximizing Yield: SCROG and SOG Techniques
If you’re really trying to push yield from your autoflowers, you’ll want to explore screen of green (SCROG) or sea of green (SOG) setups. These methods help you manipulate how your plants grow and fill out the available space.
Implementing Sea of Green (SOG) with autoflowers
SOG is all about packing a bunch of small plants into a tight area. This works perfectly with autoflowers because they stay small and flower quickly. You’re not aiming for huge plants—just lots of medium ones.
Here’s how to do it:
- Use 1–2 gallon pots
- Germinate 6–9 plants per square meter
- Don’t top or train—just let them grow naturally
- Harvest early and often
This is how I get quick, consistent harvests in a perpetual grow setup. It’s efficient and perfect for autoflowers.
SCROG setup: screen height, plant spacing, tying branches
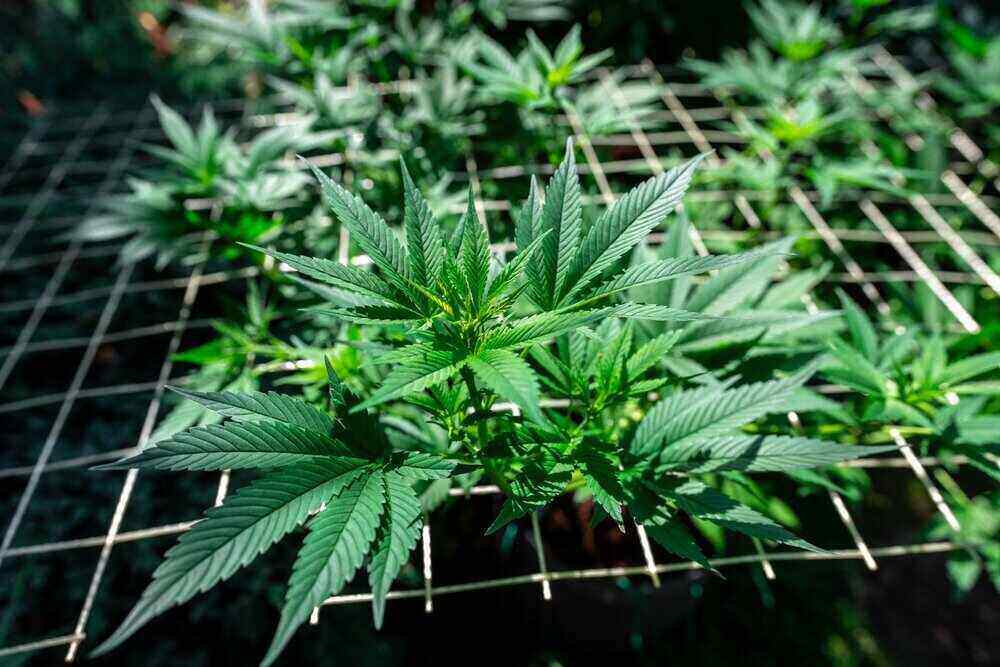
SCROG involves placing a net or screen above your plants and weaving branches through it to maximize canopy width.
How I do SCROG:
- Install the screen about 12 inches above the pots
- Start training branches through the screen during veg (around week 2)
- Tuck and tie new shoots into open screen squares
- Keep the canopy even and the light coverage balanced
This technique works best with fewer, larger plants and plenty of space to spread.
Maintenance tips: defoliation, airflow, light penetration
Training creates bushier plants, which can lead to dense growth and poor airflow. I defoliate selectively during early flower:
- Remove large fan leaves that block light
- Clear out the bottom third of the plant
- Keep airflow strong to avoid mold
Good airflow and light penetration make the difference between fluffy buds and chunky, sticky flowers.
Choosing the Right Strains and Knowing When Not to Train
Not all autoflowers are created equal. Some can handle topping and training like champs, while others will sulk if you even look at them funny.
Traits of autoflower strains that respond well to training
The best strains for training have:
- Vigorous vegetative growth
- Strong stems
- Good branching structure
- At least 10–11 weeks from seed to harvest
Some of my go-to strains include Gorilla Glue Auto, Northern Lights Auto, and Amnesia Haze Auto. These can take a topping and keep pushing forward without hesitation.
Signs of plant stress and when to avoid topping or training
If your plant is already struggling, don’t pile on more stress. Look for these red flags:
- Pale or yellowing leaves
- Droopy or curled tips
- Stunted growth
- Stretching too early
In these cases, skip the high-stress techniques and stick to gentle LST. Sometimes, letting the plant do its thing naturally is better than forcing it into a shape it can’t handle.
Conclusion
Topping and training autoflowering strains is a bit like bonsai with a timer—you’ve got to act quickly, plan smart, and respond to how your plant behaves. If you time your LST right and only top strong, fast-growing autos, you’ll unlock the full potential of your grow space.
I’ve had autos go from 1-ounce weaklings to 4-ounce powerhouses just by tweaking training methods and topping at the right time. So don’t be afraid to experiment—but do it with care and intention.
You’ve got the tools, you’ve got the knowledge—now it’s time to shape your autos like a pro.