The Best Fluffy Pancakes recipe you will fall in love with. Full of tips and tricks to help you make the best pancakes.
Why Your Autoflower Plants Stay Small
Growing autoflowers can feel like you’re chasing magic—quick turnaround, compact size, and no fuss with lighting schedules. But if your autoflower plants are stuck looking like bonsai weed instead of decent harvest machines, you’re not alone. I’ve been breeding and growing autoflowers for years, and when plants come out undersized, there’s always a reason. Sometimes it’s genetic. Sometimes it’s your setup. And sometimes it’s just how you treat them during their early days.
This guide will walk you through every factor that can keep your autoflowers small, using real-world grower experience, proven cultivation techniques, and straightforward explanations. Whether you’re working in a grow tent, greenhouse, or stealthy wardrobe grow, you’ll get the full picture here.
Understanding Autoflower Genetics and Growth Cycle
What makes autoflowers inherently compact
Autoflowers are compact by design. These strains carry Cannabis ruderalis genetics—wild cannabis that evolved in the colder climates of Russia and Central Asia. That evolution created fast, hardy plants that automatically switch from veg to flower with age, not light schedule.
Because of this, autoflowers naturally stay smaller than photoperiod strains. Most finish between 60–100 cm in height. This is part of the appeal—small, stealthy, and fast. But this also means there’s less wiggle room to stress them out or make mistakes. You’re working with a short runway.
How a short vegetative stage limits height
Unlike photoperiods that you can veg for months, autoflowers typically veg for just 2–4 weeks before they start flowering. That short veg period limits how much vertical and structural growth the plant can accomplish before it shifts into bud production.
If you stress them early—say through overwatering, transplanting late, or lack of light—you lose precious growth days. They flower on autopilot whether they’re ready or not. So, if your plant is still tiny when it starts budding, it’ll stay small.
Early‑Stage Stressors That Stunt Growth
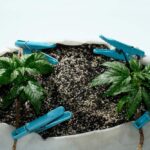
How germination and seedling issues delay early growth
The seedling stage is like the foundation of a house. If you mess it up, nothing above it can flourish. I always say the first 10 days of an autoflower’s life are the most important.
Common early-stage issues include:
- Letting the medium dry out too much or staying too wet
- Not enough humidity (aim for 65–70% in early days)
- Weak lighting or placing seedlings too far from the source
If your seedling stretches, curls, or sits idle without growth for several days, you’re already falling behind. Every day lost during seedling stage is a few grams off your final yield.
Effects of cold, improper humidity, overwatering, and transplant shock
Autoflowers hate transplant shock. That’s why I always start them in their final container—whether it’s a 3-gallon fabric pot or straight into the soil outdoors.
Environmental stress is another silent growth killer:
- Cold temps (under 18°C) slow metabolism and root function
- Low humidity (<50%) in early veg causes leaf stress
- Overwatering suffocates roots and encourages damping-off
- Underwatering forces the plant to conserve energy and slows nutrient uptake
Recognizing slow-start symptoms and early recovery tactics
If your autoflower isn’t growing much by week 2, you’ve likely got a slow-starter. But all is not lost—act quickly and you can sometimes coax more growth.
Look for:
- Small leaves
- Pale color
- Very short internodal spacing
- Roots not filling the pot
I typically add a mild root stimulant like seaweed extract and slightly increase the light intensity to push growth. Keep temperatures stable, water carefully, and don’t mess with the plant too much—let it catch up.
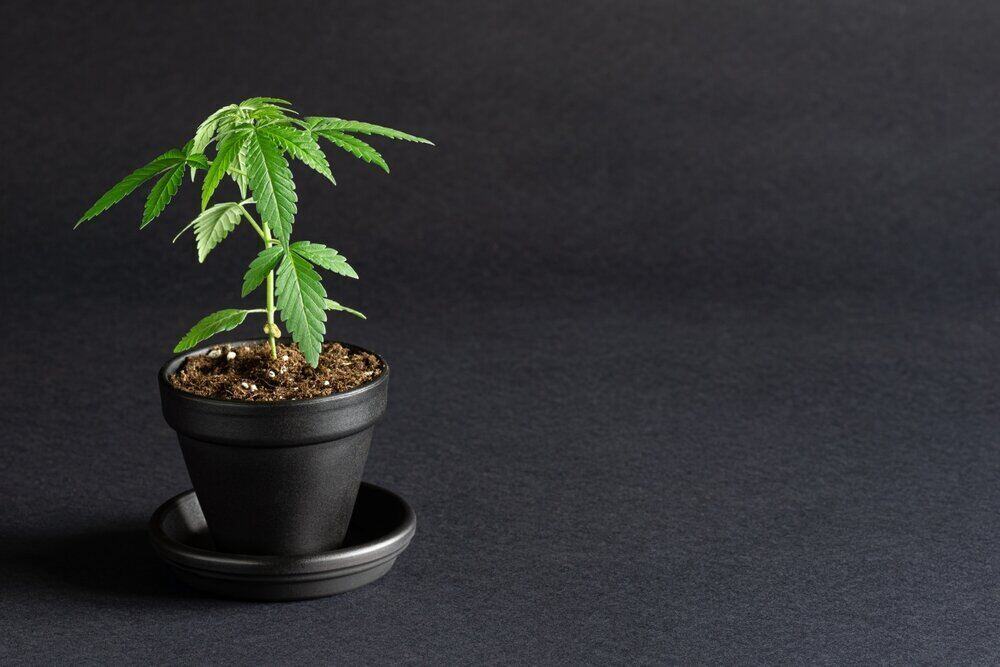
Pot Size, Root Development & Substrate
Why pots under 3 gal restrict root expansion
Roots are the engine room of the plant. Autoflowers don’t have much time to build a big root mass, so starting them in pots smaller than 3 gallons is like stuffing a Lamborghini engine into a go-kart frame—it’ll never perform.
Small pots:
- Restrict lateral root expansion
- Dry out too quickly
- Limit nutrient uptake in flowering
Stick to:
- 3-gallon pots for small indoor autos
- 5-gallon for medium–large autos
- 7-gallon for monster outdoor autos
Risks of over‑large pots: drying out and underwatering
Going too big too early can backfire. If the root zone doesn’t fill the medium, the lower substrate stays wet and can cause root rot. This also confuses watering—new growers tend to soak the whole pot and then wait too long before watering again.
If you’re using a large pot, water in a ring around the seedling at first. As the roots grow, expand the watering zone.
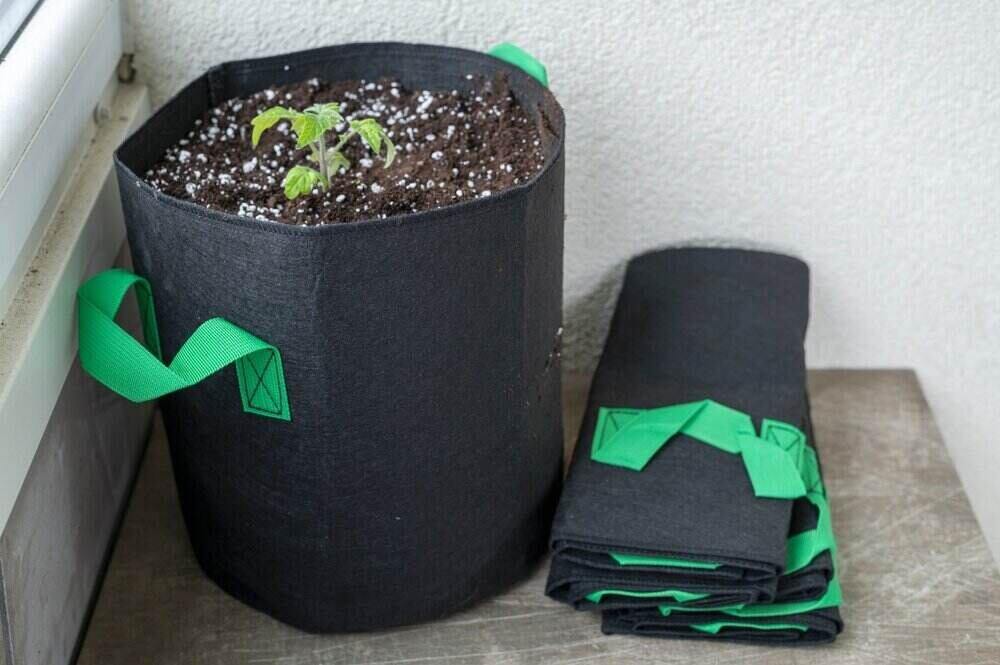
Best substrates and container types (fabric pots, airpots)
I use fabric pots religiously. They allow for air-pruning, which keeps roots healthy and prevents circling. Plus, they offer excellent drainage.
As for substrate:
- Coco coir: fast root growth, more control, but needs daily attention
- Soil: easier for beginners, but choose light mixes (avoid heavy composts)
- Soilless blends: ideal balance with added perlite for oxygen
Pro tip: Add 20–30% perlite to any mix for extra drainage and root zone aeration.
Light, Temperature & Environmental Factors
Ideal light schedules and intensities for autoflowers
Autoflowers can run 18/6, 20/4, or even 24/0. I stick with 18/6—plants get a rest period, and energy costs stay reasonable.
What matters more is light intensity and quality:
- PPFD of 400–600 µmol/m²/s in veg
- Up to 900–1000 µmol/m²/s in flower (for aggressive feeding phenos)
- Use full-spectrum LEDs for optimal results
Avoid weak, blurry “blurple” lights unless you’re growing lettuce.
Temperature and humidity ranges to avoid stress
Autoflowers thrive in:
- 22–26°C during the day
- 18–21°C at night
- 60–70% RH in veg
- 45–55% RH in flower
Too hot or too cold can trigger slowdowns or mold. Monitor VPD (vapor pressure deficit) for a more accurate growth environment. This also helps prevent nutrient lockouts.
Light spectrum quality: HPS, full‑spectrum LEDs, CFL, sun
- Full-spectrum LED: Efficient, cooler temps, ideal for autos
- HPS: Great in flower, but runs hot and eats watts
- CFLs: Okay for seedlings, not for full growth
- Sunlight: The gold standard—if you’ve got it, use it
I use LEDs with adjustable spectrum settings so I can tailor light for each stage.
Nutrients, pH Levels & Watering Regimen
The “sweet spot”: balancing feeding to avoid burn or deficiency
Autos don’t need heavy feeding. I keep things light early, then ramp up gradually. Week 1–2? Water only. Week 3? Quarter-strength nutrients. Flowering? Half to three-quarters strength max.
Look out for signs:
- Burned tips = back off
- Pale leaves = increase feed slightly
- Dark, clawing leaves = too much nitrogen
Feeding too much too early is one of the fastest ways to stunt growth.
Maintaining optimal pH (6.0–6.5 soil / 5.8–6.2 hydroponic)
Wrong pH locks out nutrients even if they’re present.
In soil, aim for:
- 6.0 to 6.5 pH
In coco or hydro, stay between: - 5.8 and 6.2 pH
Always check your runoff pH. I use a digital pH meter and calibrate weekly. Cheap meters cost you yield.

Avoiding over‑ and under‑watering at every growth stage
Watering is an art. You want the medium to dry slightly between waterings but never go bone-dry.
Key tips:
- Lift the pot—light = time to water
- Water slowly in a circle to encourage lateral root spread
- Avoid large volumes at once—autos prefer smaller, regular drinks
Overwatering suffocates roots. Underwatering stresses the plant. Both stunt size.
Training Techniques to Boost Structure and Yield
Why low‑stress training (LST) helps without hurting autos
Low-stress training is your best friend with autos. I bend and tie down the main stem after the 3rd or 4th node appears, spreading out branches to create more bud sites.
Benefits of LST:
- More light penetration
- Better airflow
- Even canopy = consistent buds
No cutting. No snapping. Just gentle persuasion with soft ties or garden wire.
When—and if—to top or pinch autoflowers
I personally avoid topping unless the plant is thriving by week 3. Topping introduces a recovery period, and if the plant is already behind, it won’t catch up.
If you do top, do it:
- No later than day 18–20 from sprout
- Only if the plant has 4+ healthy nodes
- With a fast-recovering, vigorous strain
Otherwise, stick with LST.
Timing of training: only pre‑flower, not during bloom
All training should stop once pistils show. Flowering autos hate being messed with—they focus all energy on bud production.
If you train past week 4, you risk:
- Stressing the plant
- Triggering weird foxtailing
- Slowing down resin and terpene development
I stop bending and adjusting by the end of week 3.
Selecting Quality Seeds and Planning Your Grow
Importance of proven autoflower genetics
This is where it all begins. If your seeds are from some sketchy random site, don’t expect miracles. Weak genetics = small, unstable plants.
Look for:
- Breeders with stable lines (Fast Buds, Mephisto, Auto Seeds, etc.)
- Strain data that matches grow reports
- Phenotype consistency
I grow my own lines, but when I started, I stuck to reputable autoflower breeders and my results instantly improved.
Using reputable seedbanks to avoid dwarf phenotypes
Poorly bred seeds can throw random dwarf phenos with stunted growth. You’ll sometimes see one out of five seeds look like a mini Christmas tree—this is genetic instability.
Stick to seedbanks with strong reviews, germination guarantees, and detailed strain info. Avoid the “5 seeds for £10” traps.
Planning grow timelines, environment setup, and contingencies
Plan ahead. Autoflowers don’t wait for you to get it together. Before you pop a seed, make sure:
- Your grow space is dialed in
- Lights, humidity, airflow are ready
- You’ve got pHed water and nutrients on standby
- You’ve got room to support growth and airflow
I also recommend overlapping grows with 1–2 week gaps to stagger harvests and learn from each cycle.
Conclusion
Small autoflowers aren’t just unlucky flukes. They’re usually the result of environmental stress, early mistakes, poor genetics, or just trying to rush things. But now you know what to look out for—and more importantly, how to fix it.
From using the right pots and feeding schedule to controlling your lighting and choosing strong genetics, each part of your setup plays a role in how big your autoflowers can get. Treat each grow as a chance to refine your technique, and you’ll see those plants get chunkier, frostier, and way more rewarding with every cycle.