The Best Fluffy Pancakes recipe you will fall in love with. Full of tips and tricks to help you make the best pancakes.
How do you clone cannabis
Cloning cannabis might sound like something straight out of a sci-fi movie, but in the growing world, it’s a common and effective way to reproduce your favorite plant without the guesswork that comes with seeds. I’ve been there, done that, and trust me, if you follow these steps, you’ll have little clones sprouting roots in no time. Let’s break it down from picking the right mother plant to transplanting those rooted clones into their forever homes.
What is Cannabis Cloning?
Cloning cannabis is essentially taking a cutting from a mature, healthy plant and encouraging it to grow roots so that it becomes a whole new plant with the exact same genetics as its “mother.” This method is popular among growers because it guarantees consistency in the quality, potency, and growth traits of your plants.
Understanding the concept of cannabis cloning
Cloning involves snipping a piece of a cannabis plant—usually a branch—and placing it in a medium where it can develop roots. Since the clone carries the exact same DNA as the mother plant, it will grow with the same characteristics. So, if you’ve got a top-shelf strain, cloning keeps the good vibes rolling.
Benefits of cloning over growing from seeds
Here’s the big advantage: no surprises. Clones are identical to the mother plant, which means the yield, potency, and growth patterns will be consistent. Plus, cloning skips the whole germination phase, saving you time. It’s faster, cheaper, and less unpredictable than growing from seeds, which is why seasoned growers love it.
How to Choose the Right Mother Plant
Now that you’re sold on cloning, the most important decision is picking the right mother plant. This will set the tone for everything else.
Importance of selecting a healthy plant
You want to start with a plant that’s thriving. Look for one that’s got strong branches, lush green leaves, and no signs of stress or disease. A stressed or weak mother plant means stressed or weak clones, and no one has time for that. Healthy mothers create strong, resilient clones.
How to identify female plants and avoid hermaphrodites
The key to cloning success is making sure you’re using a female plant. Females are the ones producing the buds we love. Look for the stigma, the long hair-like structures at the nodes. If you see pollen sacs, step away—those are males. And don’t clone plants from feminized seeds either; they tend to turn hermaphroditic under stress, which can ruin a good grow.
Best time to take cuttings from the mother plant
The sweet spot for taking cuttings is when your mother plant has been in the vegetative phase for at least two months. This gives the plant enough time to mature without flowering, making it easier to root your clones. Don’t take cuttings during the flowering stage unless you’re ready to deal with some extra complications.
Tools and Materials You Need for Cannabis Cloning
Before you start, gather the right tools. A clean setup is essential to avoid contamination.
Essential tools for taking clones
You’ll need:
- A sharp razor or scalpel
- Rooting hormone (gel or powder)
- Starter cubes (Rockwool, soil, or even just water)
- A clean, sterile work environment (trust me, cleanliness is key)
- Gloves to avoid touching the cuttings directly
Different rooting mediums: Rockwool, soil, and water
While you can root clones in soil, water, or Rockwool cubes, I recommend using Rockwool. It’s easy to manage, and because it’s an inert medium, it won’t mess with your pH levels. Water is a quick option, but Rockwool tends to give better results in the long run.
Importance of sterilizing tools and maintaining cleanliness
This part is a must! Any bacteria or dirt can mess up the whole process. Wipe down your tools with alcohol, wash your hands, and keep your work area spotless. Trust me, the cleaner you are, the better your chances for healthy clones.
Step-by-Step Process to Clone Cannabis
Let’s get into the nitty-gritty of cloning your cannabis. The process itself is pretty straightforward, but each step matters.
Preparing the mother plant for cloning
Before you start cutting, stop feeding your mother plant nitrogen-heavy nutrients for a week. Nitrogen promotes leaf growth, and we’re more interested in root growth here. Also, water your mother plant well the day before you plan to take your cuttings.
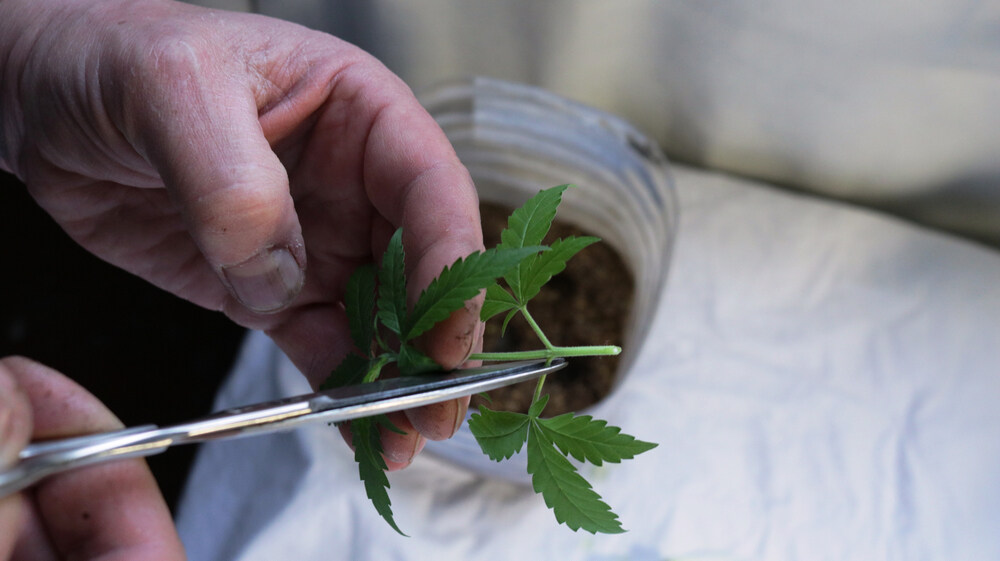
Taking the cuttings: Technique and tips
Grab a sharp, sterilized razor and cut at a 45-degree angle about 5-8 inches below the growth tip. Aim for lower branches, as they tend to root faster. Make sure each cutting has at least one node (the part where leaves grow out from the stem).
Dipping the cuttings in rooting hormone
After making your cuts, immediately dip the ends in water to prevent air bubbles from getting into the stem, then coat the bottom in rooting hormone. This gives the cutting a better chance of growing strong roots.
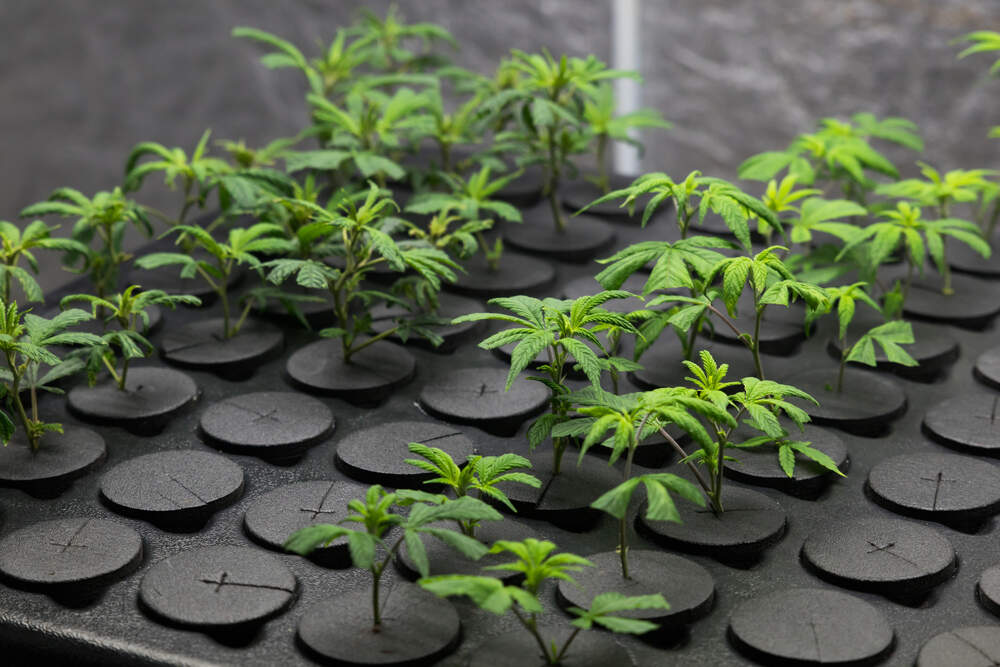
Inserting the clone into the chosen medium
Take your Rockwool cubes (or your chosen medium) and insert the clone. Make sure to pack the cube snugly around the stem to keep air out and moisture in.
Creating the ideal environment: Humidity domes and lighting
Place your clones under a humidity dome to keep the environment humid. Keep them under T5 fluorescent lights for about 18-24 hours a day. The idea is to give them a nice, cozy environment that encourages root development.
Caring for Your Cannabis Clones
Your clones are like little babies—they need the right care and attention to thrive.
Maintaining the right humidity and temperature
Keep the humidity around 70-80% and the temperature between 70-75°F. If you live in a cooler area, consider using a heating mat to keep those roots warm.
When and how to water clones
Water the clones lightly, just enough to keep the medium moist but not soggy. Overwatering is a common mistake—clones don’t have roots yet, so they don’t need much.
How to avoid common mistakes, such as overwatering
The biggest mistake is drowning your clones. They need moisture, but too much water will lead to rot or fungal issues. Also, don’t forget to open the humidity dome a little each day to let in fresh air.
Transplanting Clones After Root Development
Once your clones have roots, it’s time to give them some space to grow.
How to know when roots are ready
You’ll see roots poking through the Rockwool or coming out of the bottom of your pots. This is your signal that the clones are ready to be transplanted. Usually, this takes about 7-14 days.
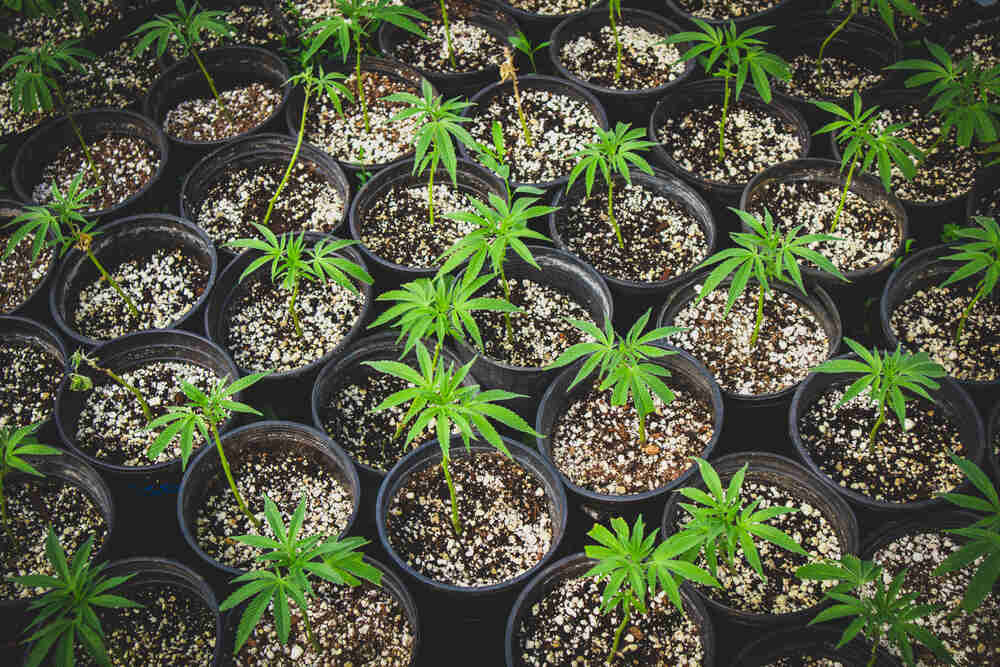
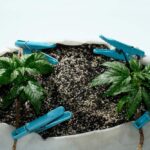
Transplanting clones into soil or hydroponic systems
When transplanting, be gentle with the roots. Dig a small hole in your final grow medium (soil or hydro) and place the clone in, covering the roots completely. Don’t pack the soil too tight—give those roots room to breathe.
Post-transplant care: Light, nutrients, and water
After transplanting, gradually introduce your clones to stronger light and start feeding them light nutrients. Watch them closely during this stage to ensure they adapt well.
FAQ:
How long does it take for cannabis clones to root?
It typically takes 7-14 days for cannabis clones to develop roots, depending on the conditions like humidity, temperature, and the cloning method used.
Can you clone cannabis without rooting hormones?
Yes, cannabis can be cloned without rooting hormones, but using them can speed up the process and improve success rates, especially for beginners.
What is the best time to clone cannabis plants?
The best time to take clones is during the vegetative stage, after the mother plant has matured for at least two months but before it starts flowering.
Do cannabis clones need special lighting?
Clones need indirect, low-intensity light. T5 fluorescent lights or CFLs are ideal, as they provide gentle light without overwhelming the clones.
How do you prevent mold and mildew during cloning?
To prevent mold and mildew, maintain a clean environment, keep humidity levels in check (around 70-80%), and ensure good airflow by occasionally venting your humidity dome.
Cloning cannabis is a great way to grow reliable, consistent plants, saving you time and money. By choosing a healthy mother plant and following these simple steps, you can replicate your favorite strains over and over again. Just remember, the process takes patience and attention to detail, but once you get the hang of it, your garden will be thriving with healthy clones.


I lean a lot I think I will make a healthy gardens