The Best Fluffy Pancakes recipe you will fall in love with. Full of tips and tricks to help you make the best pancakes.
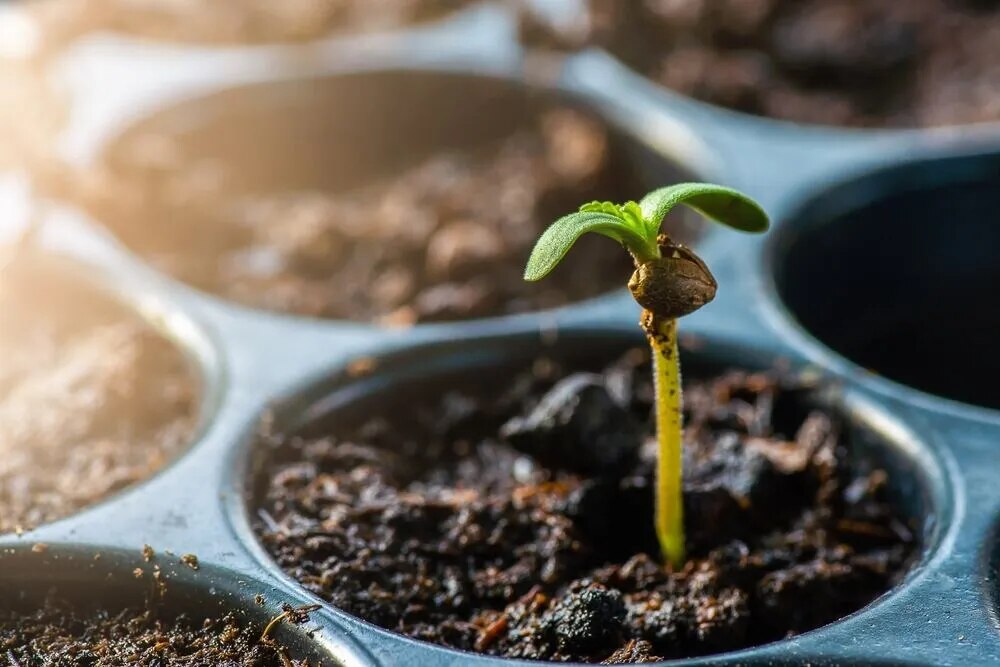
The Best Ways of Germinating Autoflower Seeds
Starting your autoflower grow is exciting, but it all begins with getting those seeds to sprout! Germination is the first step, and it’s crucial to get it right if you want strong, healthy plants. Don’t worry; whether you’re a beginner or just looking to refine your process, I’ve got you covered with the best methods. Let’s dive in and talk about how I get my autoflower seeds to pop, starting with how to prep.
Introduction to Germinating Autoflower Seeds
Understanding Autoflower Seed Characteristics
Autoflower seeds are a bit different from photoperiod seeds because they don’t rely on light cycles to start flowering. That means they’re fast and don’t require too much fuss, but it also means there’s less room for error. These little guys can go from seed to harvest in as little as 8–10 weeks, so giving them a strong start is essential to maximize your growing success.
Why Proper Germination is Crucial for Autoflowers
A solid germination process is the key to ensuring your autoflowers get off to the best start. Since autoflowers have a short life cycle, any hiccup early on—like improper germination—can stunt their growth, and there’s not much time to recover. You want every seed to sprout fast and healthy for the best chance of a good grow. So, let’s get everything prepped!
Preparation Before Germination
Choosing High-Quality Autoflower Seeds
Always start with good genetics. Pick seeds from a reputable source. Look for seeds that are dark in color, firm, and have a waxy finish. Avoid the pale, cracked ones—they’re probably duds. A good seed is like a good friend—it’ll stick with you and deliver the goods!
Creating the Ideal Environment (Temperature, Humidity, Light Control)
Seeds need warmth, moisture, and darkness to germinate. Keep the temperature between 70-85°F and humidity around 80-90%. You can keep them in a dark place, like a cupboard or a drawer. I like to use a seedling mat to keep things cozy if my house gets chilly. Don’t forget to keep your hands and tools clean—no one wants to deal with mold or fungus issues!
Tools and Materials You’ll Need
Before you start, gather everything. You’ll need:
- pH-balanced water (between 5.8-6.5)
- Clean tweezers
- Paper towels, peat pellets, or your chosen medium
- A spray bottle for misting
- A warm, dark place to put them
- A small container for germination setups like the paper towel method
Common Methods for Germinating Autoflower Seeds
The Paper Towel Method
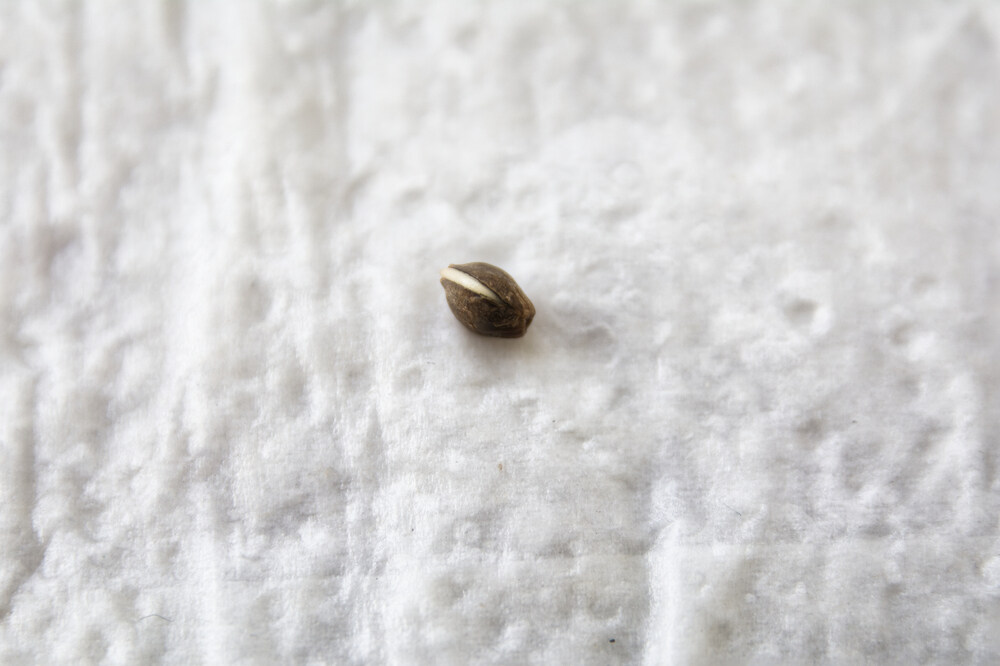
This method is super popular because it’s simple and reliable. You just wet a paper towel with distilled water, place your seeds between the folds, and keep them in a plastic container or between two plates. Store them in a dark, warm place and check daily. Within a day or two, you’ll see those taproots pop out. Just make sure the towels stay moist, but not soaking!
Direct Soil Germination
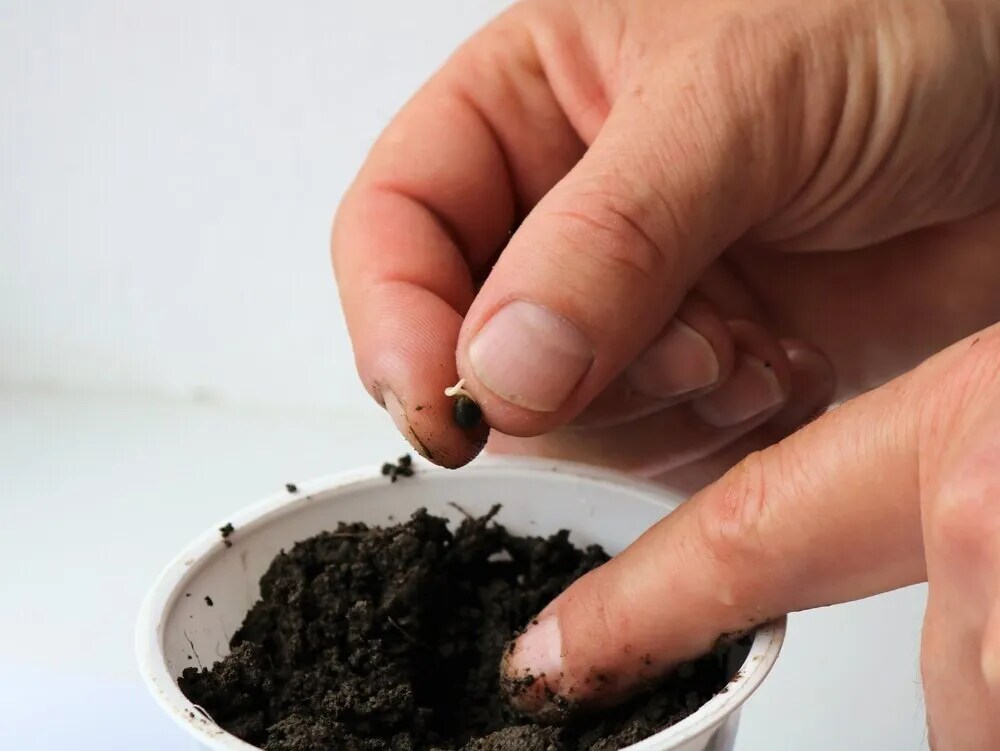
If you want to skip handling the delicate taproot, plant your seeds directly into the soil. Make a little hole about 0.5-1 inch deep, drop the seed in, and lightly cover it with soil. Keep the soil moist (not drenched) and warm. The great thing about this method is less stress on the seedling because it’s already in its growing medium. I love this for outdoor grows since it keeps things simple.
Water Soaking Technique
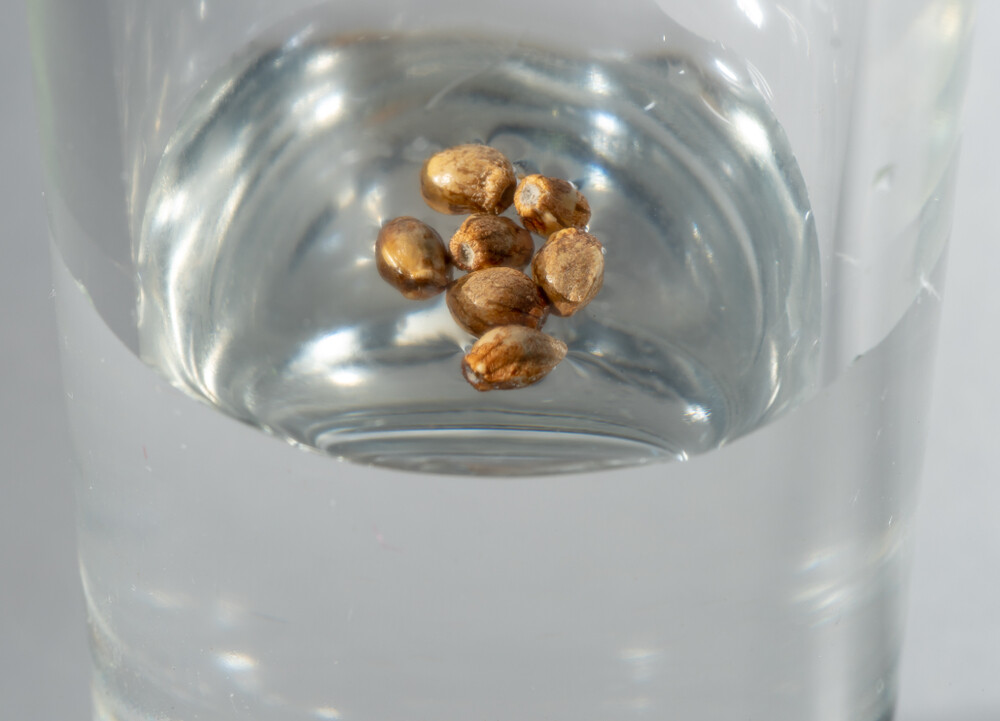
This method is great if you’ve got older seeds or ones with tougher shells. Drop the seeds in a glass of water for about 12–24 hours. If they sink, they’re good to go! After a day, if they haven’t sprouted, you can switch them to the paper towel method or plant them directly. Just don’t leave them soaking for too long—nobody likes a waterlogged seed!
Using Starter Cubes or Plugs
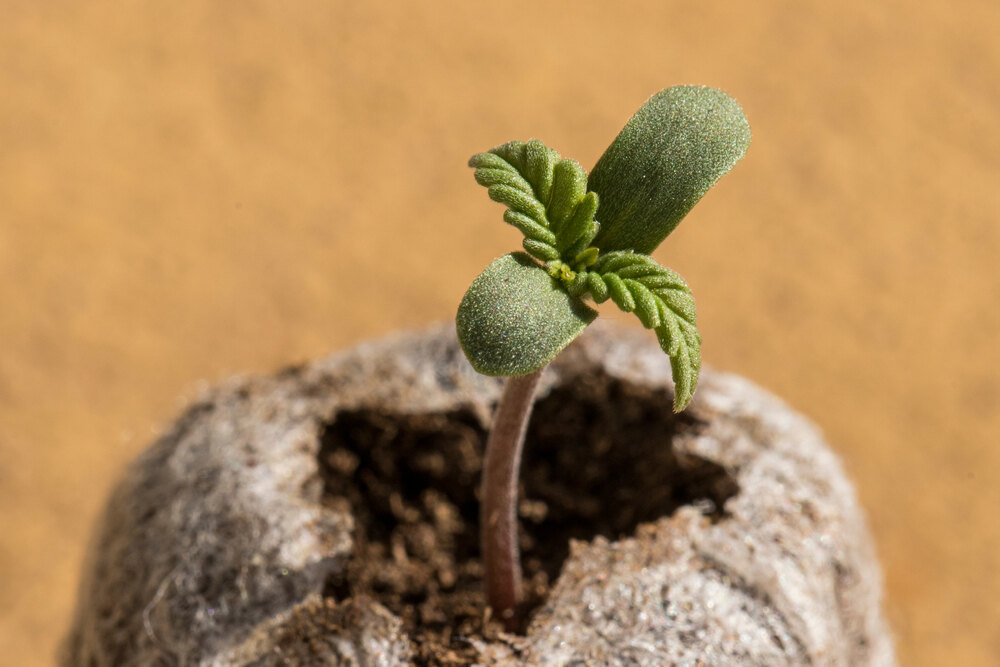
Starter cubes are handy because they create a perfect little environment for your seeds. Pop the seed into the pre-made hole, moisten the cube, and let it do its thing. Once the seed sprouts, you can transplant the whole cube into your final growing medium without disturbing the roots. It’s neat and tidy!
Jiffy Pellets and Rapid Rooters
These are similar to starter cubes but come with a bonus—they’re packed with organic material like peat, which holds water well. You soak the pellet, drop in your seed, and keep it moist until you see the sprout. These are my go-to when I’m feeling a bit lazy because they’re low-maintenance and perfect for beginners.
Pros and Cons of Different Germination Methods
Paper Towel Method: Why It’s Popular and Its Drawbacks
Pros: Easy to monitor, quick to sprout.
Cons: Delicate handling required when transferring the sprouted seed.
Direct Soil: When to Use and Its Challenges
Pros: Less risk of damaging the seedling.
Cons: Harder to monitor; slower germination.
Water Soaking: Ideal for Older or Hardened Seeds
Pros: Softens seed shell, good for older seeds.
Cons: Can drown seeds if left too long.
Using Starter Cubes for Controlled Growth
Pros: Low-stress on the plant, easy transplant.
Cons: Costs a bit more and requires some care to avoid overwatering.
Best Practices for Successful Germination
Monitoring pH Levels and Water Quality
Use distilled or pH-balanced water (around 5.8-6.5) for germination. Tap water can be hit or miss, so I recommend using distilled or filtered water to avoid any chemical interference. You can use pH strips to check your water if you’re unsure.
Handling Germinated Seeds Safely
When that tiny taproot appears, treat it like gold. Use tweezers to move the seed to its final place, and always plant with the taproot pointing down. You don’t want to touch it with your bare hands—it’s super delicate!
Managing Light, Humidity, and Temperature
Once your seedling breaks the surface, get it into the light! Autoflowers don’t need specific light cycles, but you want to give them plenty of light to grow strong. Keep humidity around 60-70% and the temperature at 70-85°F for the first week.
Troubleshooting Germination Problems
Dealing with Seeds That Don’t Germinate
Not all seeds will sprout, even if you do everything right. If nothing happens after 7 days, your seed may not be viable. You can try the water-soaking trick to give it one last chance.
How to Avoid Common Mistakes (Overwatering, Incorrect Depth, etc.)
The biggest mistake I see is overwatering. Seeds need to be moist, not swimming. Also, planting seeds too deep can prevent them from sprouting. Stick to about 0.5-1 inch deep, and you should be golden.
What to Do When Taproots Don’t Appear
If the taproot hasn’t shown after a few days, try switching up your method. For instance, if you’ve been using soil, move the seed to a paper towel for a few days. Sometimes, they just need a little nudge!
FAQ
How long does it take for autoflower seeds to germinate?
Autoflower seeds usually germinate in 1–5 days, depending on the method and seed quality.
What is the best temperature for germinating autoflowers?
Ideal temperatures are between 70-85°F for the fastest and healthiest germination.
Can I germinate autoflower seeds in water?
Yes, soaking in water for 12-24 hours can help soften the shell, especially for older seeds.
How deep should I plant autoflower seeds?
Plant them 0.5-1 inch deep in the soil, ensuring they have room to sprout and develop roots.
What should I do if my seeds don’t germinate?
Switch up your germination method, or try soaking them in water for 24 hours if you haven’t already. Sometimes, a different approach can help.
Germinating autoflower seeds isn’t rocket science, but it does require a bit of care and attention. Whether you prefer the paper towel method, direct soil, or starter cubes, the goal is the same: give your seeds the best possible start. Now that you know the best ways to germinate, you’re one step closer to a successful grow. Happy growing!


