The Best Fluffy Pancakes recipe you will fall in love with. Full of tips and tricks to help you make the best pancakes.

Which grow lights are best for autoflowers?
Growing autoflowering cannabis can be incredibly rewarding—fast harvests, compact plants, and less hassle with light schedules. But if there’s one thing that makes or breaks your yields, it’s the grow light you use. The wrong light can stunt your plants, stretch them out, or burn them to a crisp. The right one? It’ll bring dense buds, vibrant leaves, and explosive resin production. In this article, I’ll walk you through everything you need to know about grow lights for autos, from spectrum choices to space planning, and give you my top picks as a breeder and grower who’s seen it all.
Overview of grow light types for autoflowers
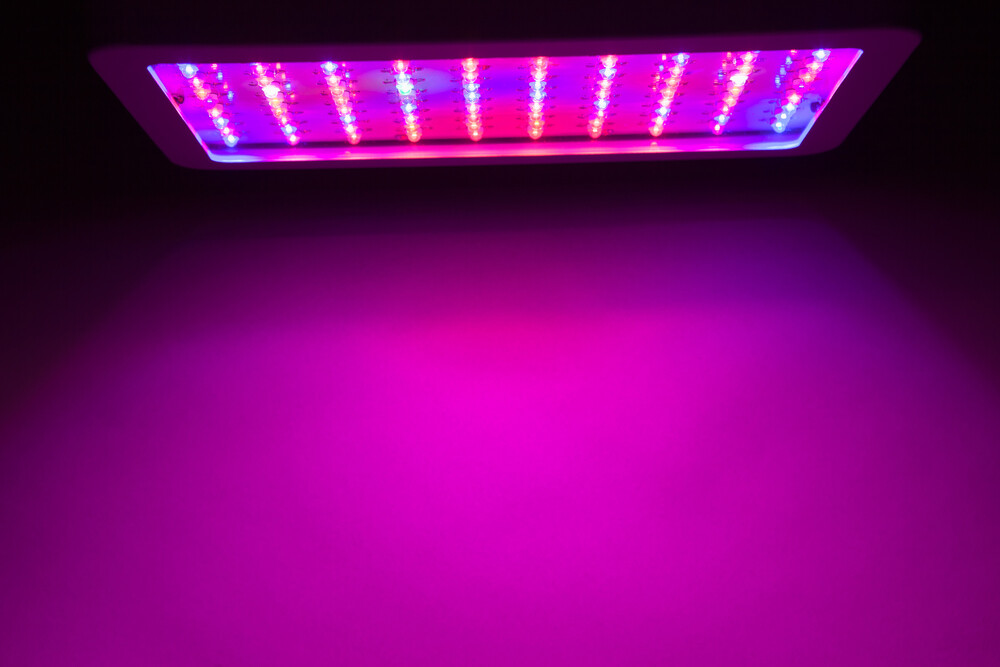
LED grow lights – features, pros & cons
LED grow lights are easily the most popular option among growers today, and for good reason. They’re efficient, long-lasting, and highly customizable. I use them in my personal grow tents because they let me control spectrum output and heat levels without breaking the bank on energy bills.
Pros:
- Lower electricity consumption
- Minimal heat output—perfect for small grow spaces
- Full spectrum options for seed-to-harvest growth
- Longer lifespan (50,000+ hours)
Cons:
- Higher upfront cost than HPS or CFLs
- Cheap models can produce uneven light spread or weak PAR
If you’re just starting, invest in a quality full-spectrum LED. Don’t go for the cheapest thing on Amazon. Look for models with strong PAR output and a reliable warranty.
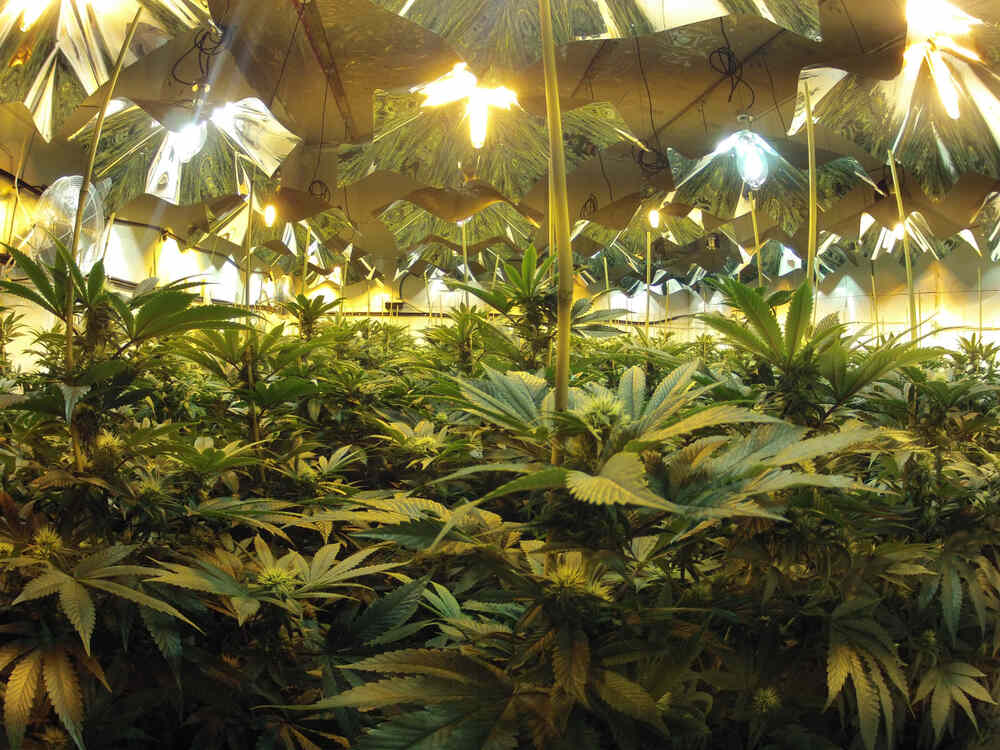
HID lights (HPS/MH/CMH) – when and why to use
HID (High-Intensity Discharge) lighting includes HPS (High-Pressure Sodium), MH (Metal Halide), and CMH (Ceramic Metal Halide). These are old-school workhorses that still deliver massive yields when used properly. I used to run HPS bulbs for flowering and MH for veg before switching to LEDs. They pump out intense light and work beautifully for large grow ops.
Pros:
- Proven effectiveness—especially for flowering
- Cheap to buy initially
- High light penetration for taller plants
Cons:
- Generate a lot of heat—needs proper ventilation
- Bulbs need replacement every few grows
- Higher power draw
HID lights can work well for autos if you’re running them in a cool, well-ventilated room. But for most home growers, LEDs are simply easier to manage.
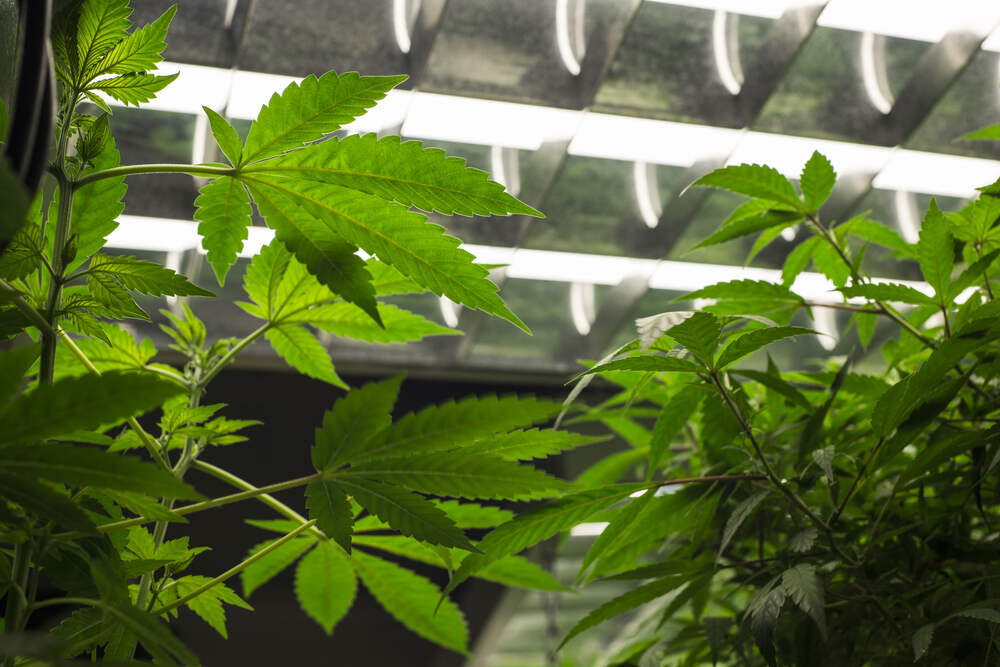
Fluorescent options (CFL/T5) – budget-friendly setups
CFLs and T5 fluorescents are decent for seedling and veg stages. They’re cheap and won’t fry your plants. However, their weak light intensity makes them unsuitable for full-cycle growth, especially flowering.
Pros:
- Very affordable
- Low heat
- Great for clones, seedlings, and early veg
Cons:
- Weak PAR output—not ideal for flowering autos
- Limited canopy penetration
If you’re starting your autoflowers indoors before moving them outside, fluorescents are fine. But don’t expect huge buds under these lights.
Light spectrum & intensity essentials
Understanding full spectrum vs targeted spectrum (blue/red)
Autoflowers need a mix of light wavelengths throughout their life. Full-spectrum LEDs offer a balanced blend of blue (400–500nm), red (620–700nm), and even a bit of far-red and UV.
- Blue light is best for vegetative growth—it encourages tight internodes and lush foliage.
- Red light promotes flowering—think fat buds and increased resin.
- Far-red light helps trigger flowering faster, especially in autos that don’t wait for photoperiod changes.
I always recommend using full-spectrum lights for autoflowers, as they simplify the process. You won’t need to swap bulbs or change setups when your plant transitions from veg to bloom.
Ideal Kelvin and wavelength ranges for veg and flowering
Kelvin ratings help growers understand the color temperature of a bulb. Here’s what you want:
- For vegetative stage: 5000–6500K (cool white, more blue)
- For flowering stage: 2700–3500K (warm white, more red)
If you’re running a full-spectrum LED, you often get both ranges in one fixture. That’s why they’re so popular with autoflower growers—you just plug them in and go.
Measuring PAR and PPFD: optimal ranges for autos
Photosynthetically Active Radiation (PAR) measures the usable light spectrum for plant growth. PPFD (Photosynthetic Photon Flux Density) is how much of that light actually hits your plant canopy, measured in micromoles per square meter per second (µmol/m²/s).
Here’s the sweet spot:
- Seedling stage: 200–300 PPFD
- Veg stage: 400–600 PPFD
- Flowering stage: 600–900 PPFD
If you go much higher, especially with autos, you risk stressing the plant. I use a PAR meter in my tent to dial in those numbers and keep my canopy evenly lit.
Light schedules and energy considerations
Comparing 18/6, 20/4, 22/2 and 24/0 cycles
One of the perks of autoflowers is their independence from photoperiod. You can run them under a variety of schedules:
- 18/6 is the standard—plants get time to rest and it saves on electricity.
- 20/4 gives more light time, potentially boosting yields.
- 22/2 or 24/0 can push your plants to the max, but I only use these for very hardy strains.
Personally, I run a 20/4 cycle for most autos. It’s a good balance between plant growth and energy efficiency.
Balancing electricity costs, heat and plant recovery
Longer light cycles mean more electricity, more heat, and less downtime for your plants. Autoflowers benefit from short dark periods—it helps with root growth and overall plant health.
Make sure you:
- Monitor your grow room temperature, especially with HID lights
- Use timers to automate your light schedule
- Allow time for your plant to ‘breathe’ and process nutrients
Daily Light Integral (DLI) explained and applied
DLI is the total amount of usable light a plant receives in a day. Think of it like a daily calorie count for cannabis. Autoflowers typically do well with 25–35 mol/m²/day during peak flowering.
DLI = (PPFD x hours of light per day x 3600) / 1,000,000
I use this formula to tweak my light height and schedule to hit the right DLI without overloading the plants.
Matching grow light to grow space and plant size
Calculating wattage per square foot/metre
For autoflowers in small grow spaces, here’s a general rule:
- LED lights: 30–50 watts per square foot
- HID lights: 40–60 watts per square foot
So if your tent is 2×2 feet (4 square feet), aim for a 150–200W LED or a 250W HID. Bigger spaces need proportionally more power and ventilation.
Coverage area recommendations for tents and small grows
Make sure your light covers the full canopy evenly. Most LED lights will list their coverage area:
- 2×2 tent: 100–200W
- 3×3 tent: 200–300W
- 4×4 tent: 400–600W
If you’re growing autos in tight spaces, light efficiency matters more than raw wattage. Spread matters—get a fixture with even diode distribution or a bar-style LED.
Positioning height and adjusting as plants mature
Height matters. Too close and you risk light burn. Too far and you get stretch. I start LEDs around 24 inches above the canopy and adjust weekly based on plant response.
- Seedlings: 24–30 inches
- Vegging: 18–24 inches
- Flowering: 12–18 inches (with caution)
Always watch your plant. If it’s praying with tight nodes, you’re in the sweet spot. If it’s taco-ing or bleaching, raise the lights.
Top grow lights recommended for autoflowers
Budget LED picks – features & price points
For small-scale growers, these are reliable, affordable choices:
- Viparspectra P1000
- Spider Farmer SF-1000
- Mars Hydro TS600
They run under $150, deliver solid PAR output, and work great in 2×2 or 2×4 tents.
Mid-range full‑spectrum LEDs with adjustable bulbs
If you want more control and higher yield potential, go for:
- HLG 200 Rspec
- AC Infinity Ionboard S24
- Mars Hydro FC-E3000
These range from $200–$400 and offer dimmable features, better spread, and full-spectrum white diodes.
High‑performance HID/CMH options for commercial yields
For large-scale or serious growers with the cooling to match:
- Gavita Pro 600/750 DE HPS
- Philips Master GreenPower CMH 315W
- Sun System LEC 315 CMH
These lights churn out massive PAR but also come with heat and energy demands. Make sure you’re set up properly.
Maintenance tips & optimizing yields
Managing heat and ventilation under different lights
Good airflow is key. I run an exhaust fan with a carbon filter and clip-on oscillating fans in every grow tent. LEDs make heat manageable, but HID setups need strong extraction to avoid stressing your plants.
Check:
- Temp range: 22–28°C (veg), 20–26°C (flower)
- RH: 60–70% (veg), 40–50% (flower)
Light scheduling tools: timers, dimmers, daisy-chaining
Automate everything. Use mechanical or digital timers to avoid missing light cycles. I also love lights with built-in dimmers—great for adjusting intensity without moving the fixture.
Daisy-chaining lets you link multiple fixtures together. It’s a game-changer if you’re running more than one light.
Monitoring and tweaking during growth cycles
Your plants will tell you what they need. Yellowing, curling, stretching—all signs something’s off. Use apps or handheld PAR meters to track PPFD. Adjust light height weekly, especially during stretch.
And remember—what works for one autoflower strain might not for another. Always watch, tweak, and learn.
Conclusion
Choosing the best grow lights for autoflowers is a game of balance—between light intensity and spectrum, space and coverage, cost and performance. Whether you’re rocking a 2×2 tent with a modest LED or running a commercial HID setup, the right light will make your plants thrive. I’ve seen the difference firsthand: dialed-in lighting leads to explosive growth, tighter buds, and tastier terps. Stick to full-spectrum LEDs if you’re starting out, understand your DLI, and always let your plants guide you. Light ’em up right, and your autoflowers will reward you every time.