The Best Fluffy Pancakes recipe you will fall in love with. Full of tips and tricks to help you make the best pancakes.
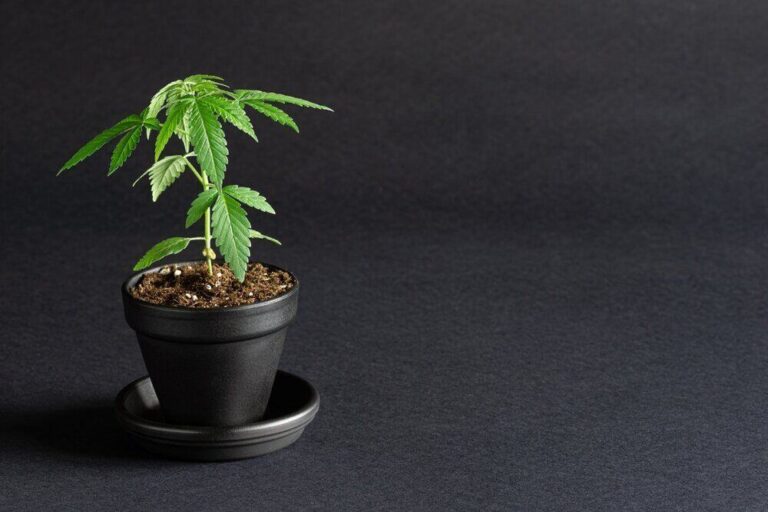
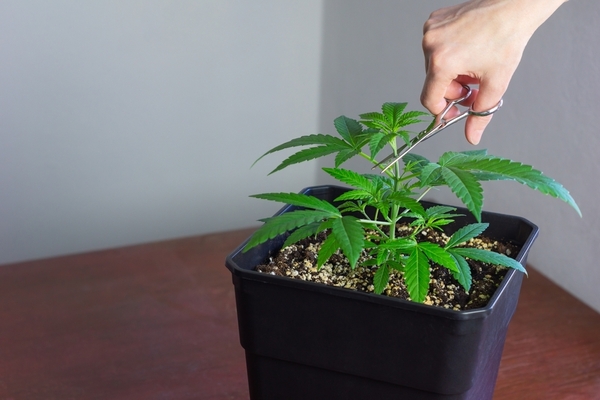
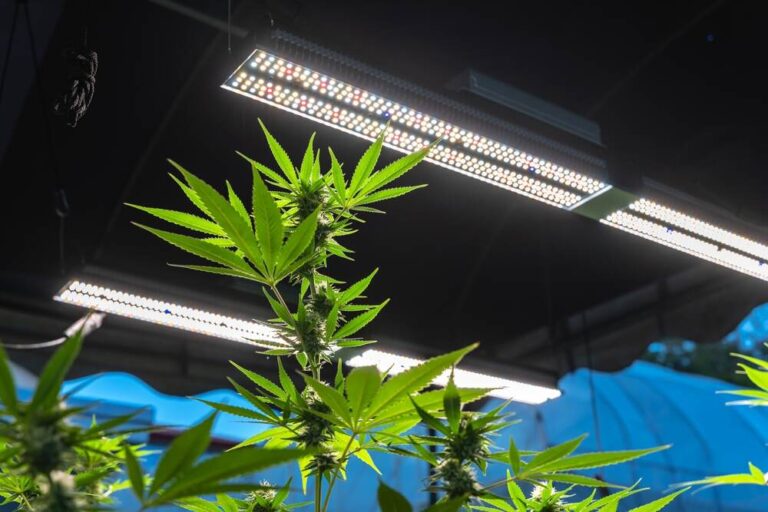
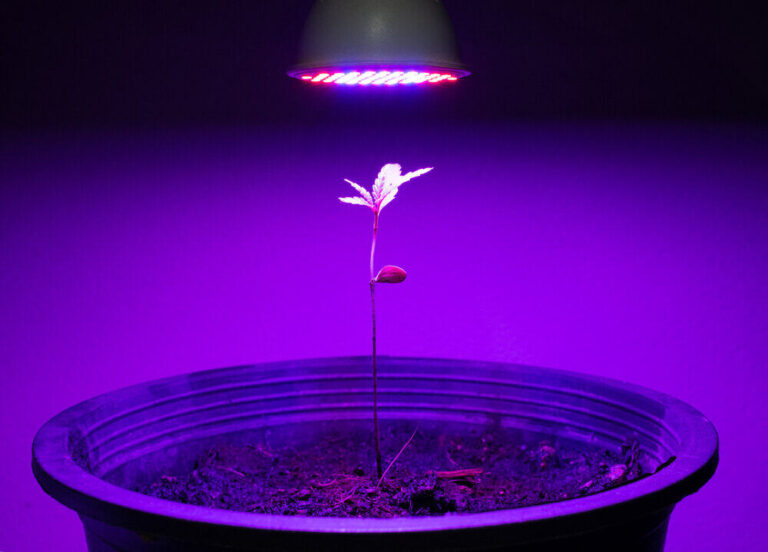
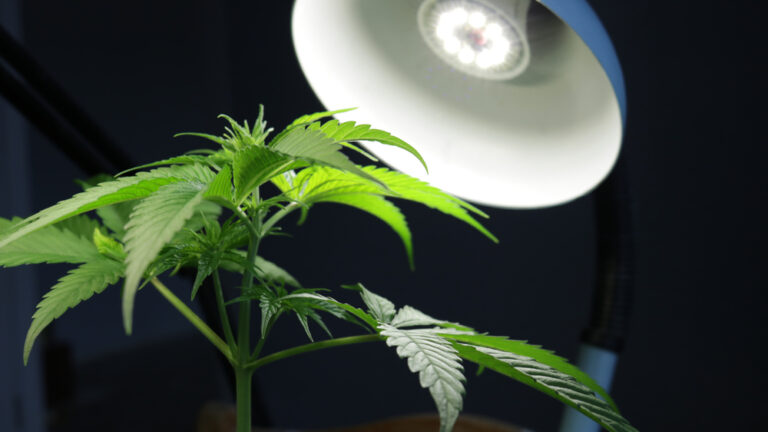
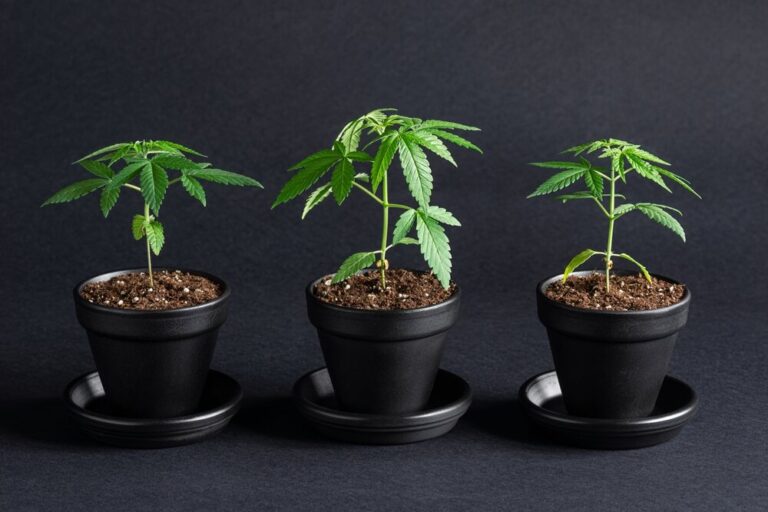
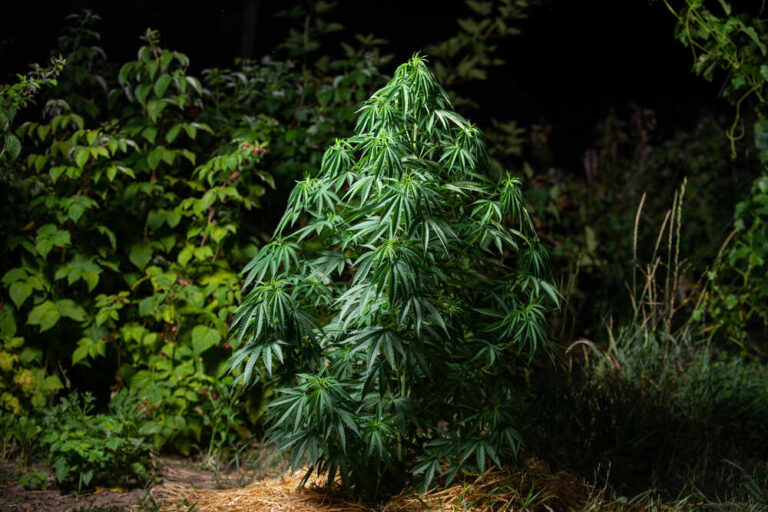
Why Your Autoflower Plants Stay Small
Growing autoflowers can feel like you’re chasing magic—quick turnaround, compact size, and no fuss with lighting schedules. But if your autoflower plants are stuck looking…