The Best Fluffy Pancakes recipe you will fall in love with. Full of tips and tricks to help you make the best pancakes.
How to Grow Cannabis Using Aeroponics
If you’re ready to grow cannabis in a way that’s faster, more efficient, and just plain cool, aeroponics might be your new best friend. This method doesn’t use soil or even a traditional hydroponic setup—instead, it mists the roots of your plants with a nutrient-rich water solution, helping them thrive in an oxygen-rich environment. While it sounds high-tech (and yeah, it kind of is), I’m going to walk you through everything you need to know to start growing your own weed using aeroponics like a pro.
What is Aeroponics and How Does it Work?
Definition of aeroponics and basic principles
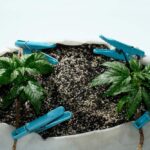
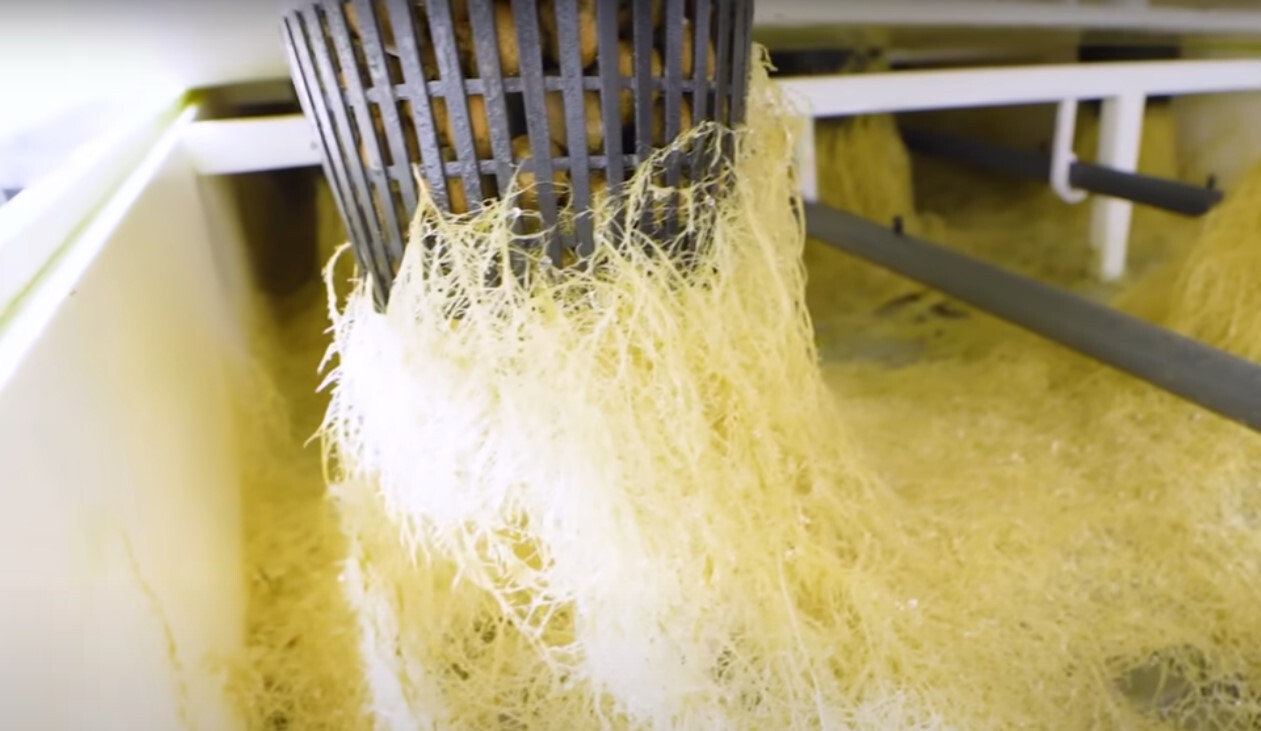
Aeroponics is a cultivation method where plants are grown with their roots suspended in the air, and a nutrient solution is sprayed directly onto them. No soil, no water beds—just roots, air, and mist. This system provides roots with maximum exposure to oxygen, which speeds up plant growth. Pretty futuristic, huh?
Key differences between aeroponics and other growing methods (soil, hydroponics)
Compared to traditional soil growing or even hydroponics, aeroponics is on another level. In soil, roots have to push through the medium to find water and nutrients. In hydroponics, roots are submerged in water. But with aeroponics, the roots get direct access to oxygen and nutrient solutions at the same time. This means faster growth, healthier plants, and potentially bigger yields.
Benefits of using aeroponics for cannabis cultivation
So why aeroponics? Simple: it’s one of the most efficient growing methods out there. With it, you can expect faster growth, better nutrient absorption, and less water usage. It’s also perfect for maximizing space since you don’t need soil or large water reservoirs. Oh, and did I mention it’s pretty much pest-free?
Setting Up an Aeroponic System for Cannabis Growth
Required equipment for aeroponics (grow chamber, misting system, nutrient solution)
To get started, you’ll need a few key pieces of gear:
- A grow chamber to house your plants and keep the roots suspended.
- A misting system that delivers the nutrient solution directly to the roots.
- A nutrient solution that’s balanced for cannabis plants.
You’ll also need an air pump, grow lights, and a water reservoir. It may sound like a lot, but once you get it going, the system runs like clockwork.
Choosing the right cannabis strains for aeroponic growth
Not every cannabis strain is going to be happy in an aeroponic setup, but many thrive. Strains like Northern Lights, Blue Dream, or White Widow tend to do really well because they’re hardy and can handle the speedier growth. Indica-dominant strains are a good bet since they tend to be more robust.
Environmental conditions: Temperature, humidity, and lighting requirements
Your aeroponic cannabis plants still need a good environment to thrive. Keep your grow room between 68-77°F and aim for humidity around 60% during the vegetative stage, dropping it to 40-50% during flowering. As for lighting, a solid LED setup will work great—just make sure they get about 18 hours of light in veg and 12 hours during flowering.
Step-by-Step Guide to Growing Cannabis with Aeroponics
Germinating cannabis seeds for aeroponic systems
Start your seeds the same way you would for any other method—either using the paper towel method or a germination station. Once they’ve sprouted and you’ve got some solid little seedlings, it’s time to move them to your aeroponic system.
Transplanting seedlings into the aeroponic system
When your seedlings are ready, gently transplant them into the aeroponic system. Make sure the roots are hanging freely in the air chamber, and the misting system is delivering that nutrient-rich solution directly to them. Be gentle—these babies are fragile at this stage.
Managing nutrient solutions and maintaining pH balance
Cannabis plants in an aeroponic system need their nutrient solution dialed in just right. Stick to a balanced nutrient mix designed for cannabis, and keep an eye on your pH. The sweet spot is around 5.5-6.0. If the pH gets too high or too low, your plants won’t be able to absorb nutrients properly, and that’s a fast track to problems.
Monitoring and adjusting water, nutrient delivery, and misting schedules
The misting system is what makes aeroponics unique. I recommend setting it to mist the roots for a few seconds every 10-15 minutes during the day. This keeps the roots hydrated without drowning them. Check your water levels and nutrient solution regularly—don’t let that reservoir run dry.
Managing cannabis plant growth (pruning, topping, etc.) in aeroponics
With aeroponics, your cannabis plants will grow faster than usual, which is awesome! But that also means you’ll need to stay on top of things like pruning and topping to keep them manageable. Trim back any excess leaves that block light, and consider topping your plants to encourage more branching and bigger yields.
Common Challenges and Solutions in Aeroponic Cannabis Cultivation
Root zone issues: Root rot, nutrient uptake problems
Root rot can be a real pain in aeroponic systems. To prevent it, make sure the roots are getting enough air, and keep your system clean. If you notice your roots turning brown or mushy, that’s a sign of root rot. Flush the system, clean everything, and adjust your misting schedule to give the roots more air time.
Pests and diseases in aeroponic systems and how to prevent them
One of the perks of aeroponics is that it’s almost pest-free, but nothing’s foolproof. Keep your grow space clean, and check your plants regularly for any signs of disease. If you do get a pest problem, organic pest control methods like neem oil or insecticidal soap should do the trick.
Troubleshooting common system failures (clogged misting nozzles, pump issues)
Aeroponic systems rely heavily on their equipment, so regular maintenance is a must. Clogged nozzles are a common issue, but you can avoid them by using filtered water and cleaning the system frequently. If your pump goes out, your roots can dry out fast, so have a backup pump handy just in case.
Harvesting Cannabis Grown with Aeroponics
Signs of readiness for harvest in aeroponic cannabis
Harvest time is the best time! Keep an eye on the trichomes (those frosty crystals on your buds). When they turn from clear to milky with a few amber ones mixed in, your plants are ready to chop. This also helps you get the perfect balance between potency and flavor.
Proper harvesting techniques to maximize yield
When it’s time to harvest, use sharp, clean scissors to snip the buds from the plant. Be gentle—cannabis is delicate at this stage. Cut the branches carefully and trim off any excess leaves before drying.
Post-harvest care: Drying and curing cannabis for optimal quality
Once harvested, hang your buds in a cool, dark place with good air circulation to dry for about 7-10 days. After that, transfer them to glass jars for curing, opening the jars daily to let out moisture. This process can take a few weeks but it’s worth it—the longer the cure, the smoother and more flavorful the smoke.
Advantages and Disadvantages of Aeroponics for Cannabis Cultivation
Pros of growing cannabis with aeroponics (faster growth, higher yields, less water use)
- Faster growth: Plants grow up to 50% faster in aeroponics compared to soil.
- Higher yields: With more oxygen to the roots, you’ll often get larger yields.
- Less water use: Aeroponics uses way less water than traditional growing methods.
Cons of aeroponics (costs, system maintenance, technical expertise)
- Costs: Setting up an aeroponic system can be pricey.
- System maintenance: You’ll need to stay on top of cleaning and maintaining the system to prevent failures.
- Technical expertise: There’s a learning curve with aeroponics—it’s not the easiest cultivation method for beginners.
FAQ:
What is the difference between aeroponics and hydroponics for growing cannabis?
Aeroponics mists roots with a nutrient solution, while hydroponics submerges roots in water. Aeroponics offers better oxygen exposure, which can lead to faster growth.
How much does it cost to set up an aeroponic cannabis system?
Costs vary, but expect to spend between $500 and $2000 depending on the size and quality of your setup.
What are the best cannabis strains for aeroponics?
Hardy strains like Northern Lights, Blue Dream, and White Widow thrive in aeroponics due to their resilience and fast growth.
How do I prevent root rot in an aeroponic system?
Keep roots well-oxygenated by adjusting the misting schedule and maintaining a clean, well-ventilated system to avoid rot.
Is aeroponics better than soil-based cultivation for cannabis?
Aeroponics can offer faster growth and higher yields, but it’s more complex and expensive compared to soil-based methods.
Growing cannabis using aeroponics might seem intimidating at first, but once you get the hang of it, it’s a highly efficient and rewarding way to cultivate. With faster growth, fewer pests, and bigger yields, you’ll be wondering why you didn’t start growing this way sooner. Just remember to stay on top of your system maintenance, and don’t be afraid to experiment with different strains until you find the perfect fit for your aeroponic setup. Happy growing!